Home Assistant

Home Assistant setup guide
Hello and welcome — this guide will show you how to get Home Assistant running in Proxmox step by step.
To begin, download the Home Assistant ISO file by visiting the official site and copying the link. This installation uses the KVM/Proxmox version of Home Assistant.
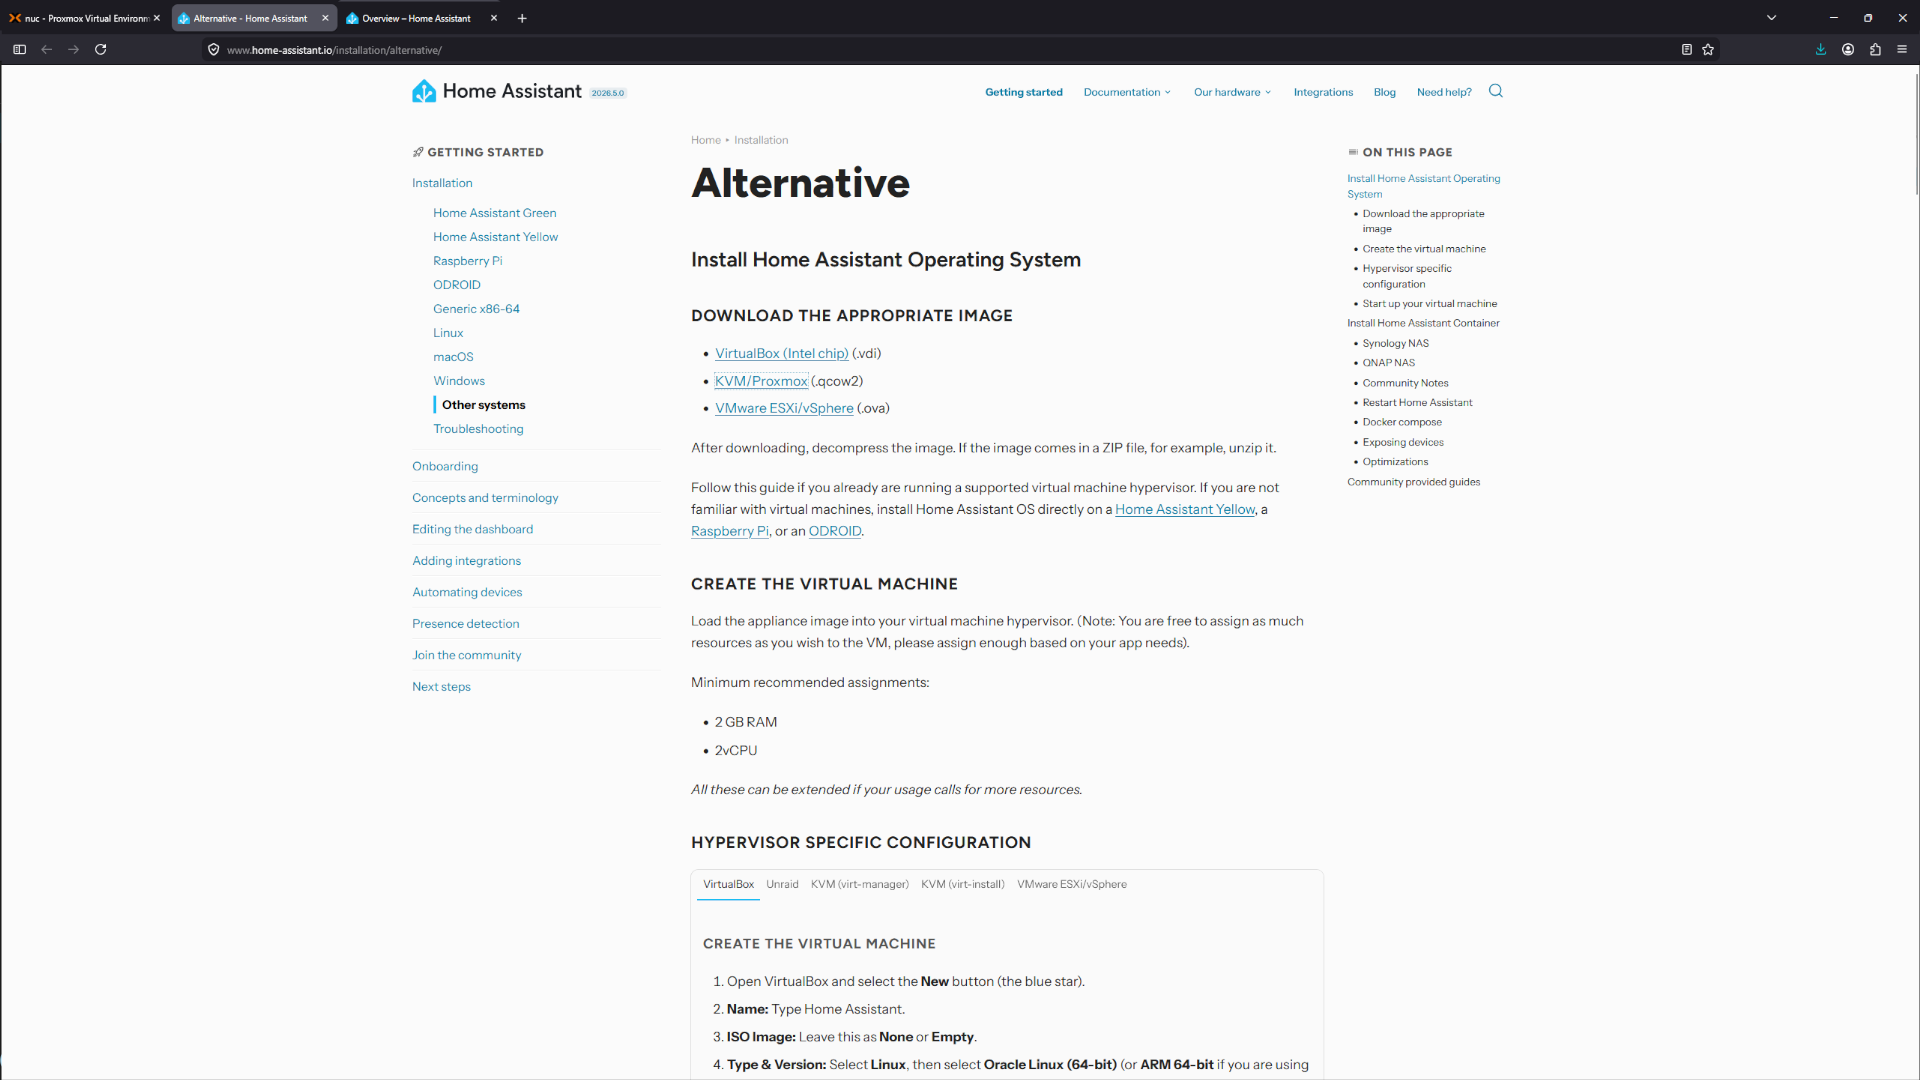 Home Assistant
In Proxmox, open a shell on the node and use wget to download the file.
 Proxmox shell
1
wget https://github.com/home-assistant/operating-system/releases/download/17.3/haos_ova-17.3.qcow2.xz
The next step is to extract the contents of the file.
 unxz the file
1
unxz haos_ova-17.3.qcow2.xz
It’s time to configure the VM — click Create VM at the top right of the Proxmox interface. Set a name and ID for the new virtual machine.
 VM name
In the boot drive settings, set it to Do not use any media because we’ll use the downloaded image instead.
 No media
Now set the machine to q35, switch the BIOS to UEFI, turn off pre-enrolled keys, and enable the QEMU Guest Agent.
 Machine type
Go ahead and delete the disk, since the image we downloaded already contains the proper disk configuration.
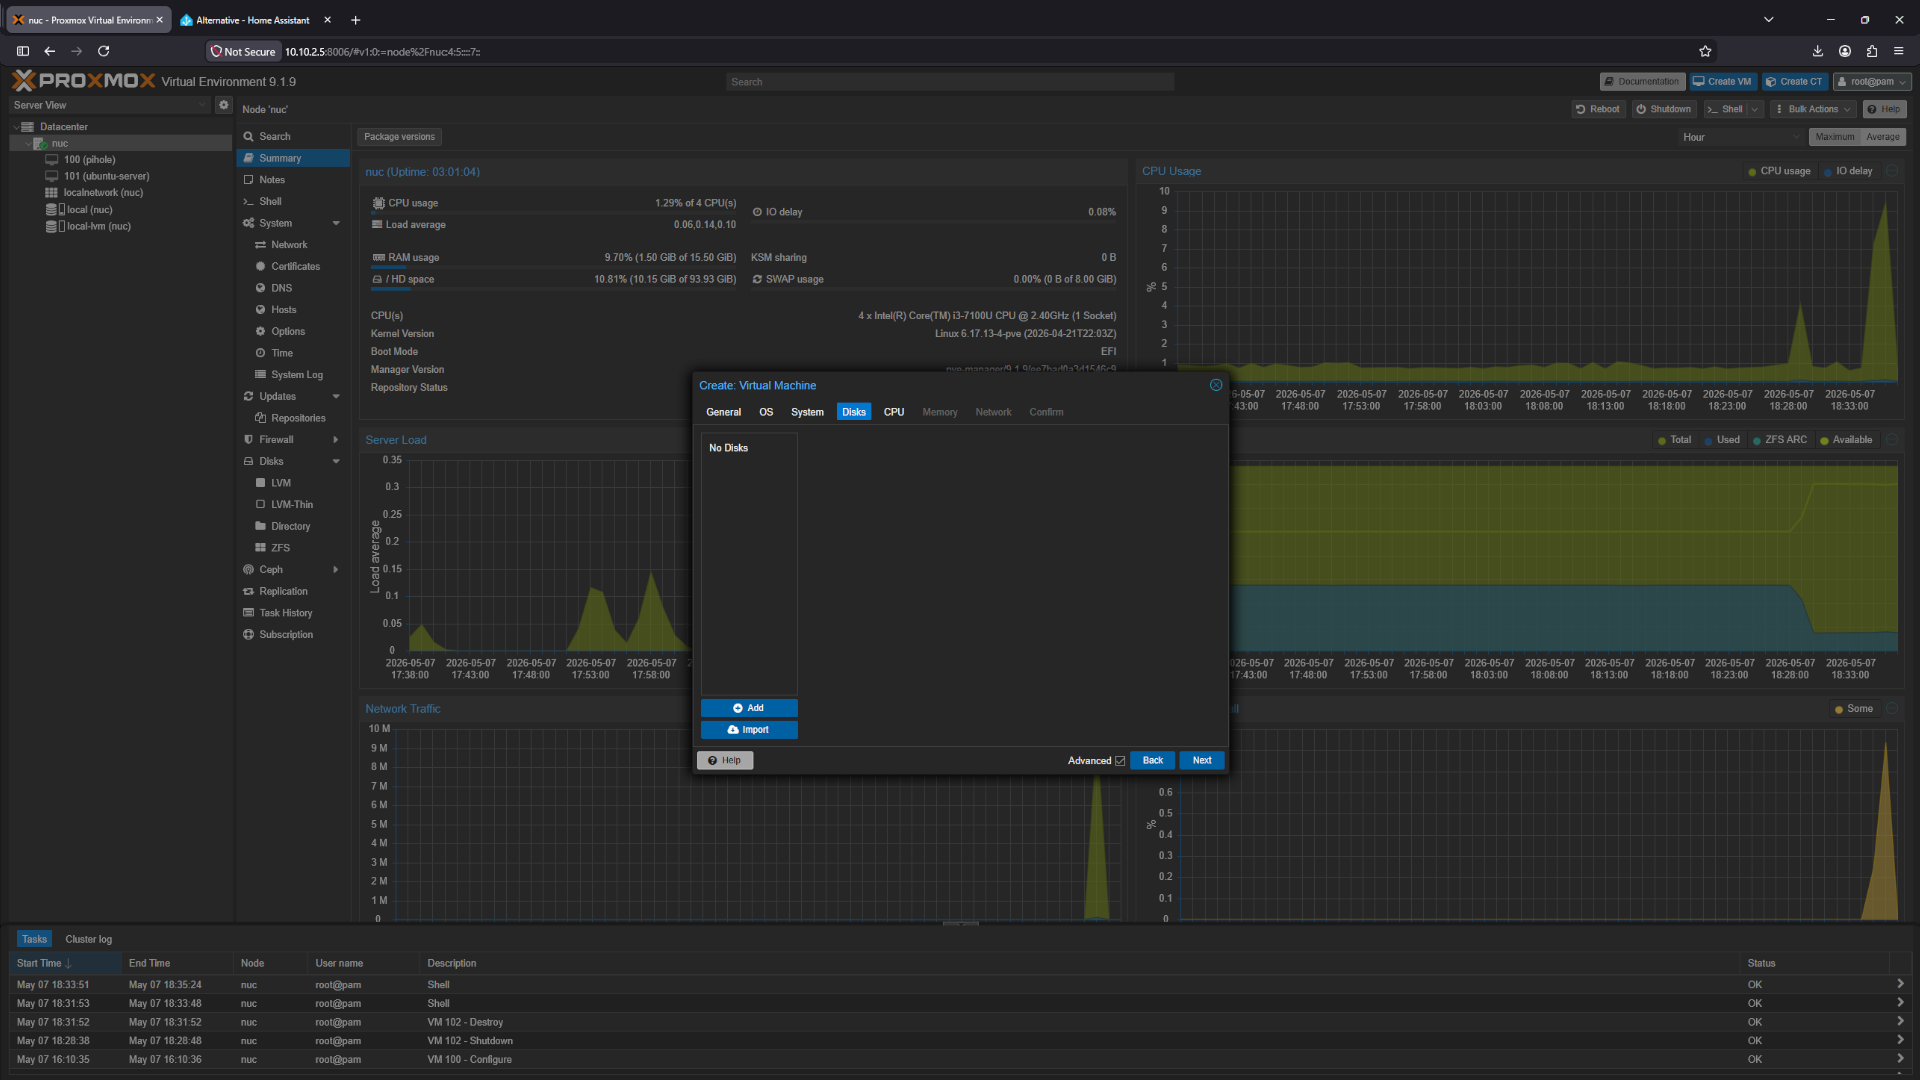 Disks
Disks
We’ll keep the CPU light here: just assign 2 cores.
 Cpu
Cpu
While 2048 MB of RAM is the minimum, I’d suggest allocating at least 4096 MB for better performance.
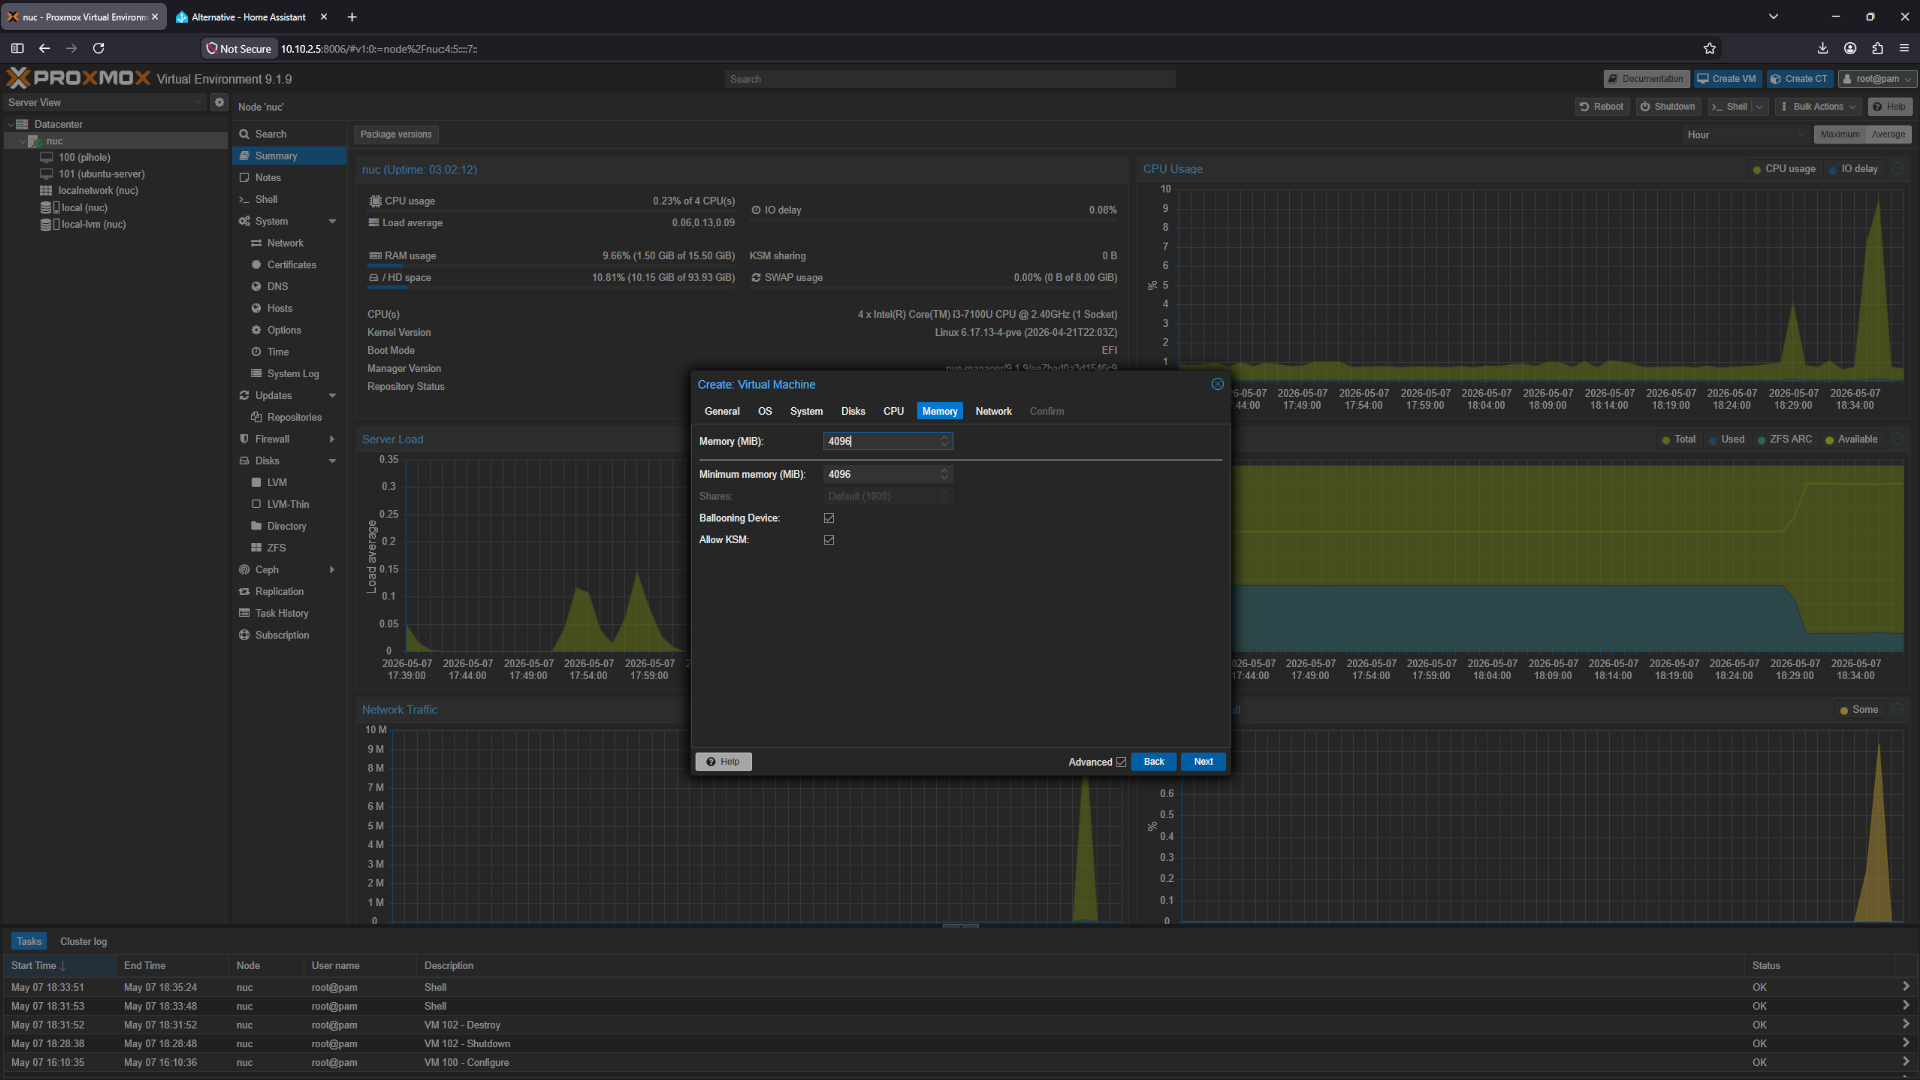 Memory
Let’s move on to networking. Use a static IP for best results, and make sure to assign it in your router.
I’ve set up a DHCP reservation in my router for that IP address.
 Network
Review and confirm the configuration, then disable Start after created.
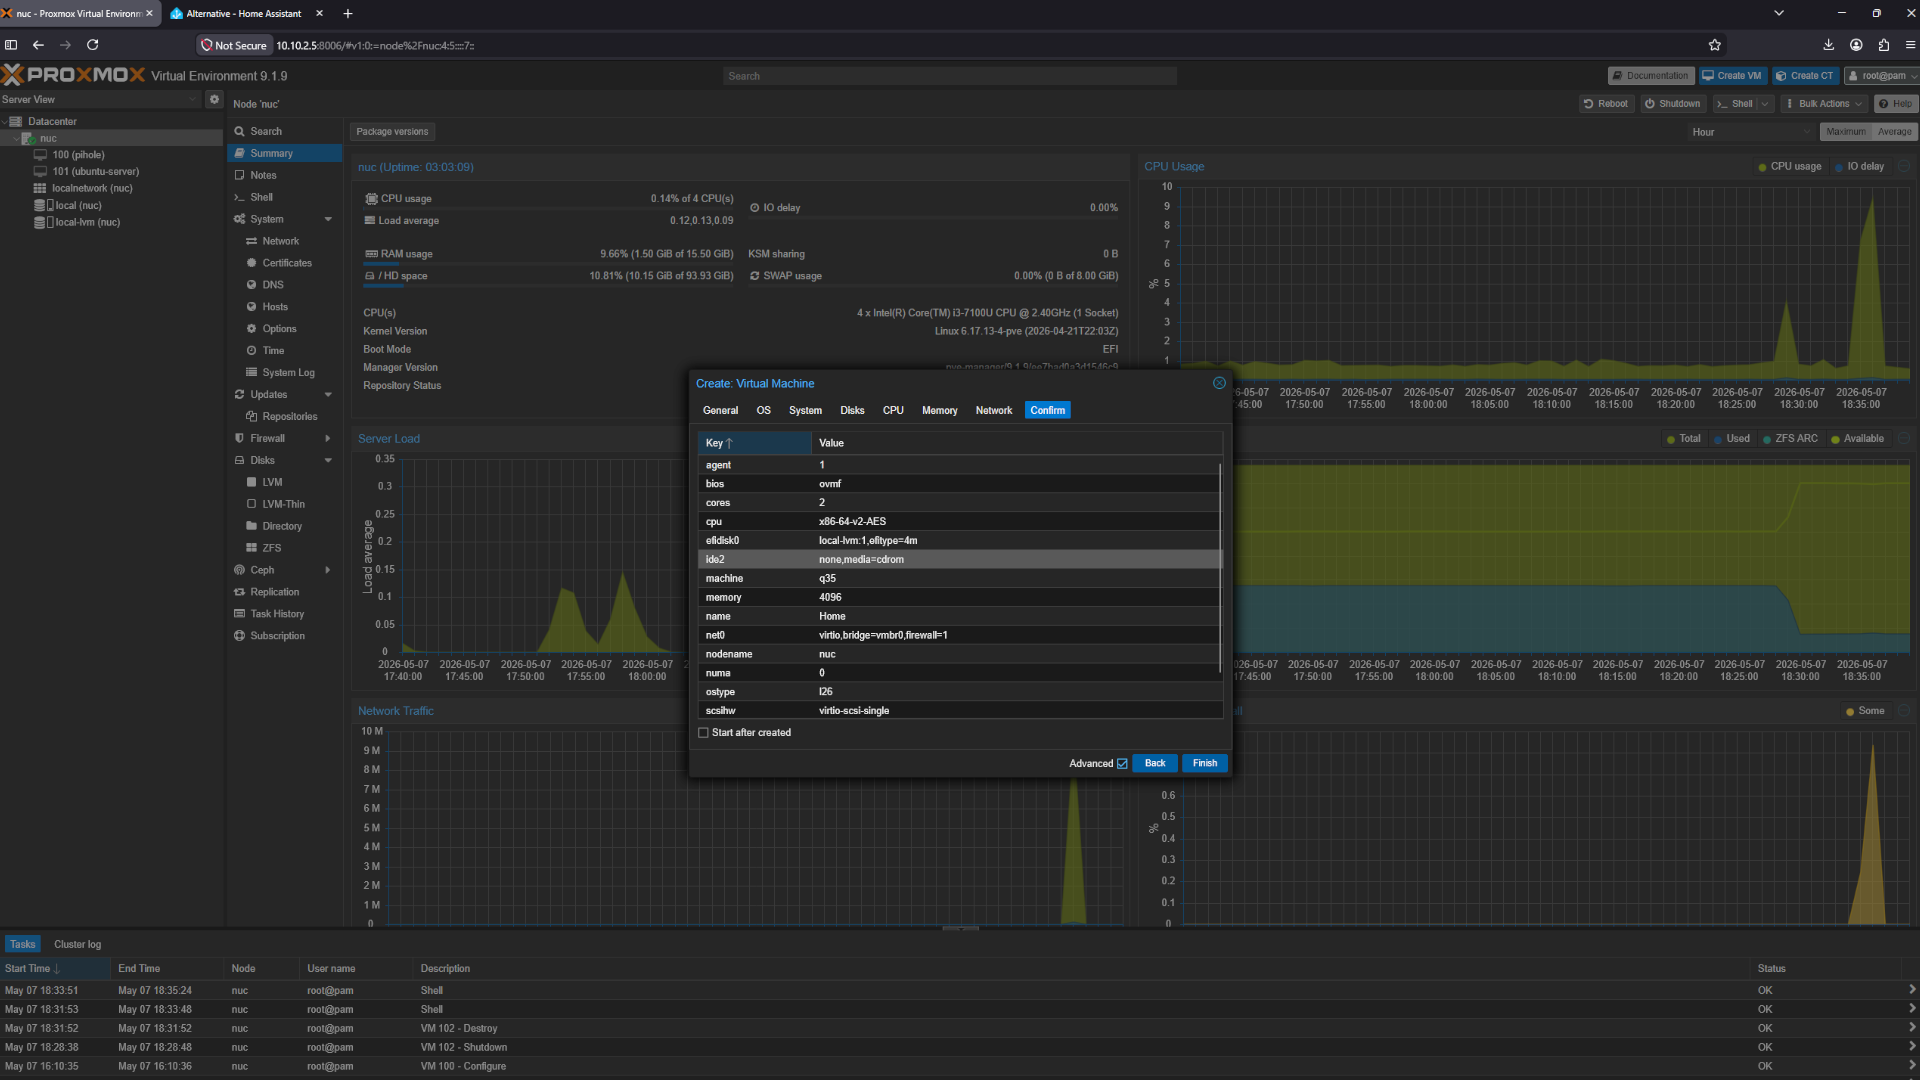 Comfirm
Let’s move on to the storage setup — use the shell to add the disk.
 Storage setup
1
qm importdisk 102 haos_ova-17.3.qcow2 local-lvm
Virtuel Machine config
Then open the VM, go to Hardware, and find the Unused Disk entry — click it. Turn on SSD emulation and Discard, then click Add to confirm.
 Add disk
Go to Options → Boot Order and set it to boot from the disk we just added.
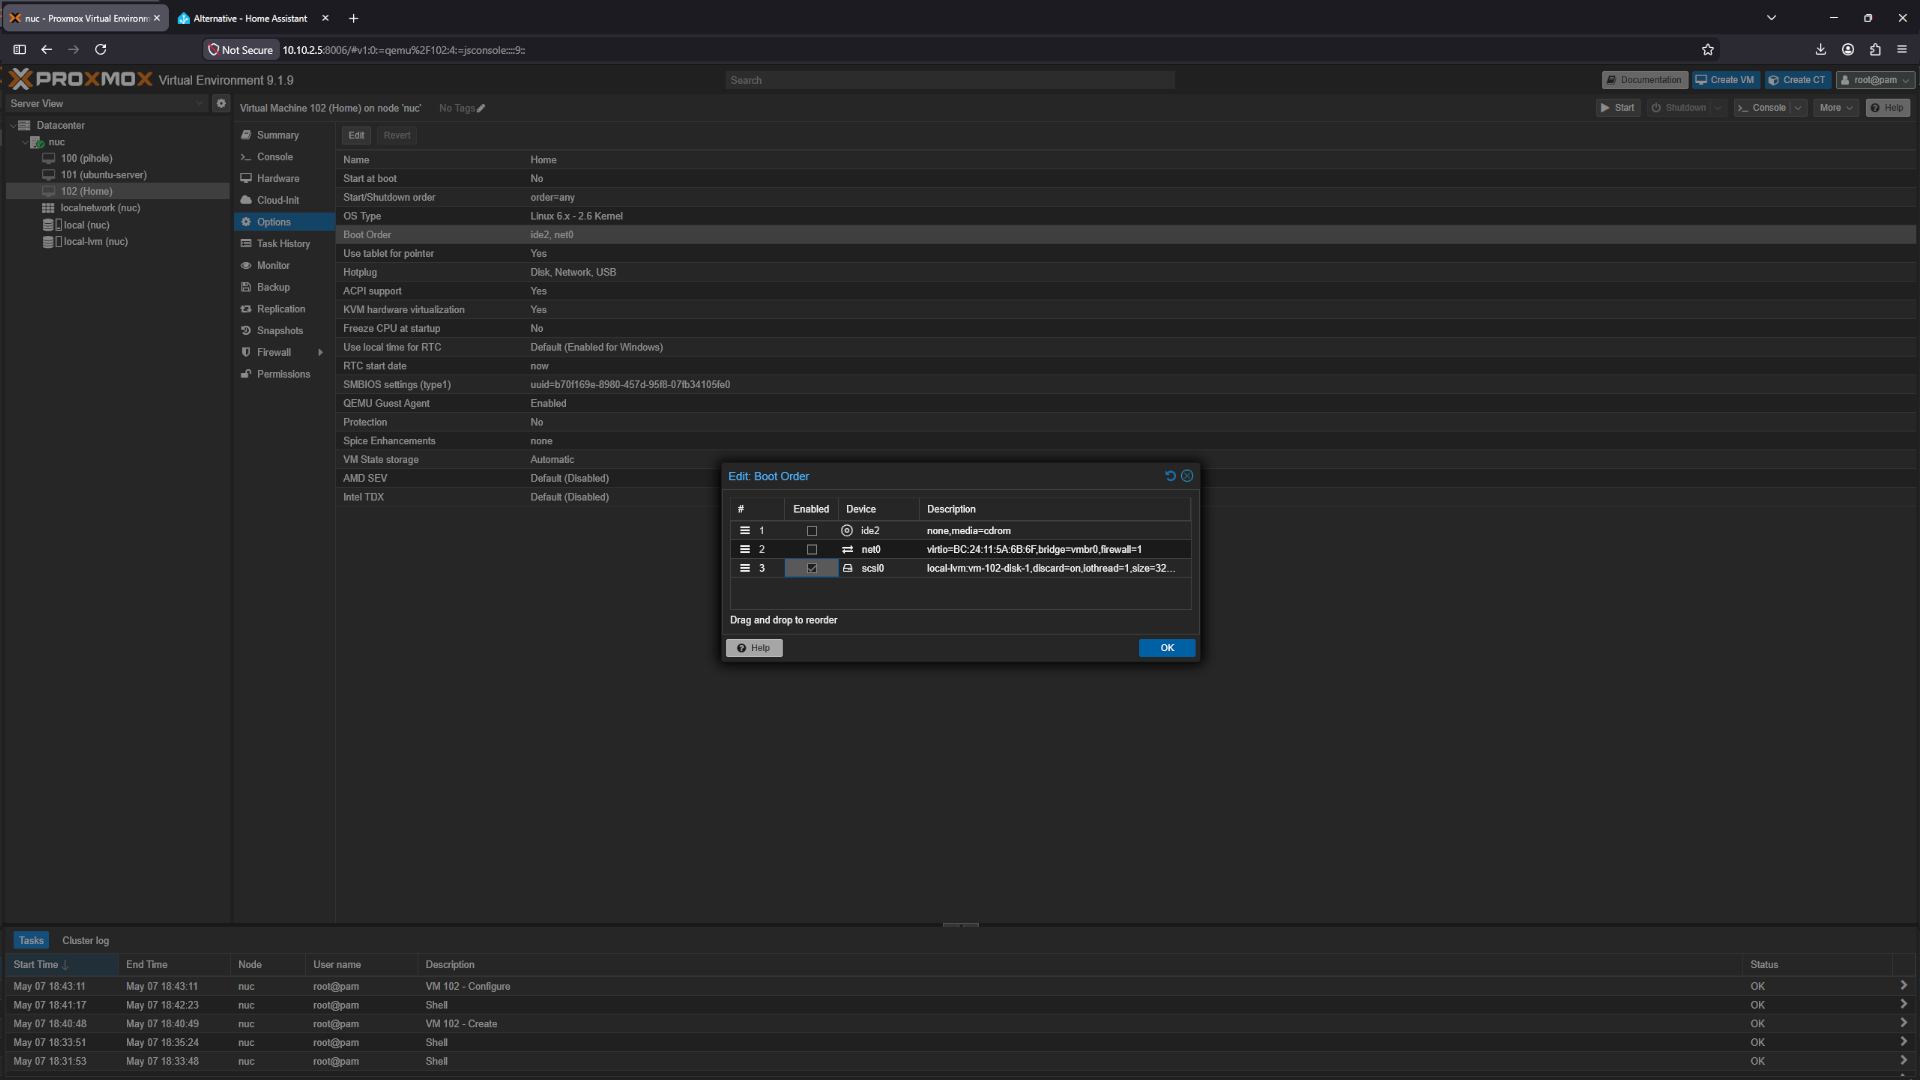 Boot order
Start Home Assistant
Time to power on the VM and get it running.
 Start VM
When the system has booted, it will show the IP address and the URL to reach the web interface.
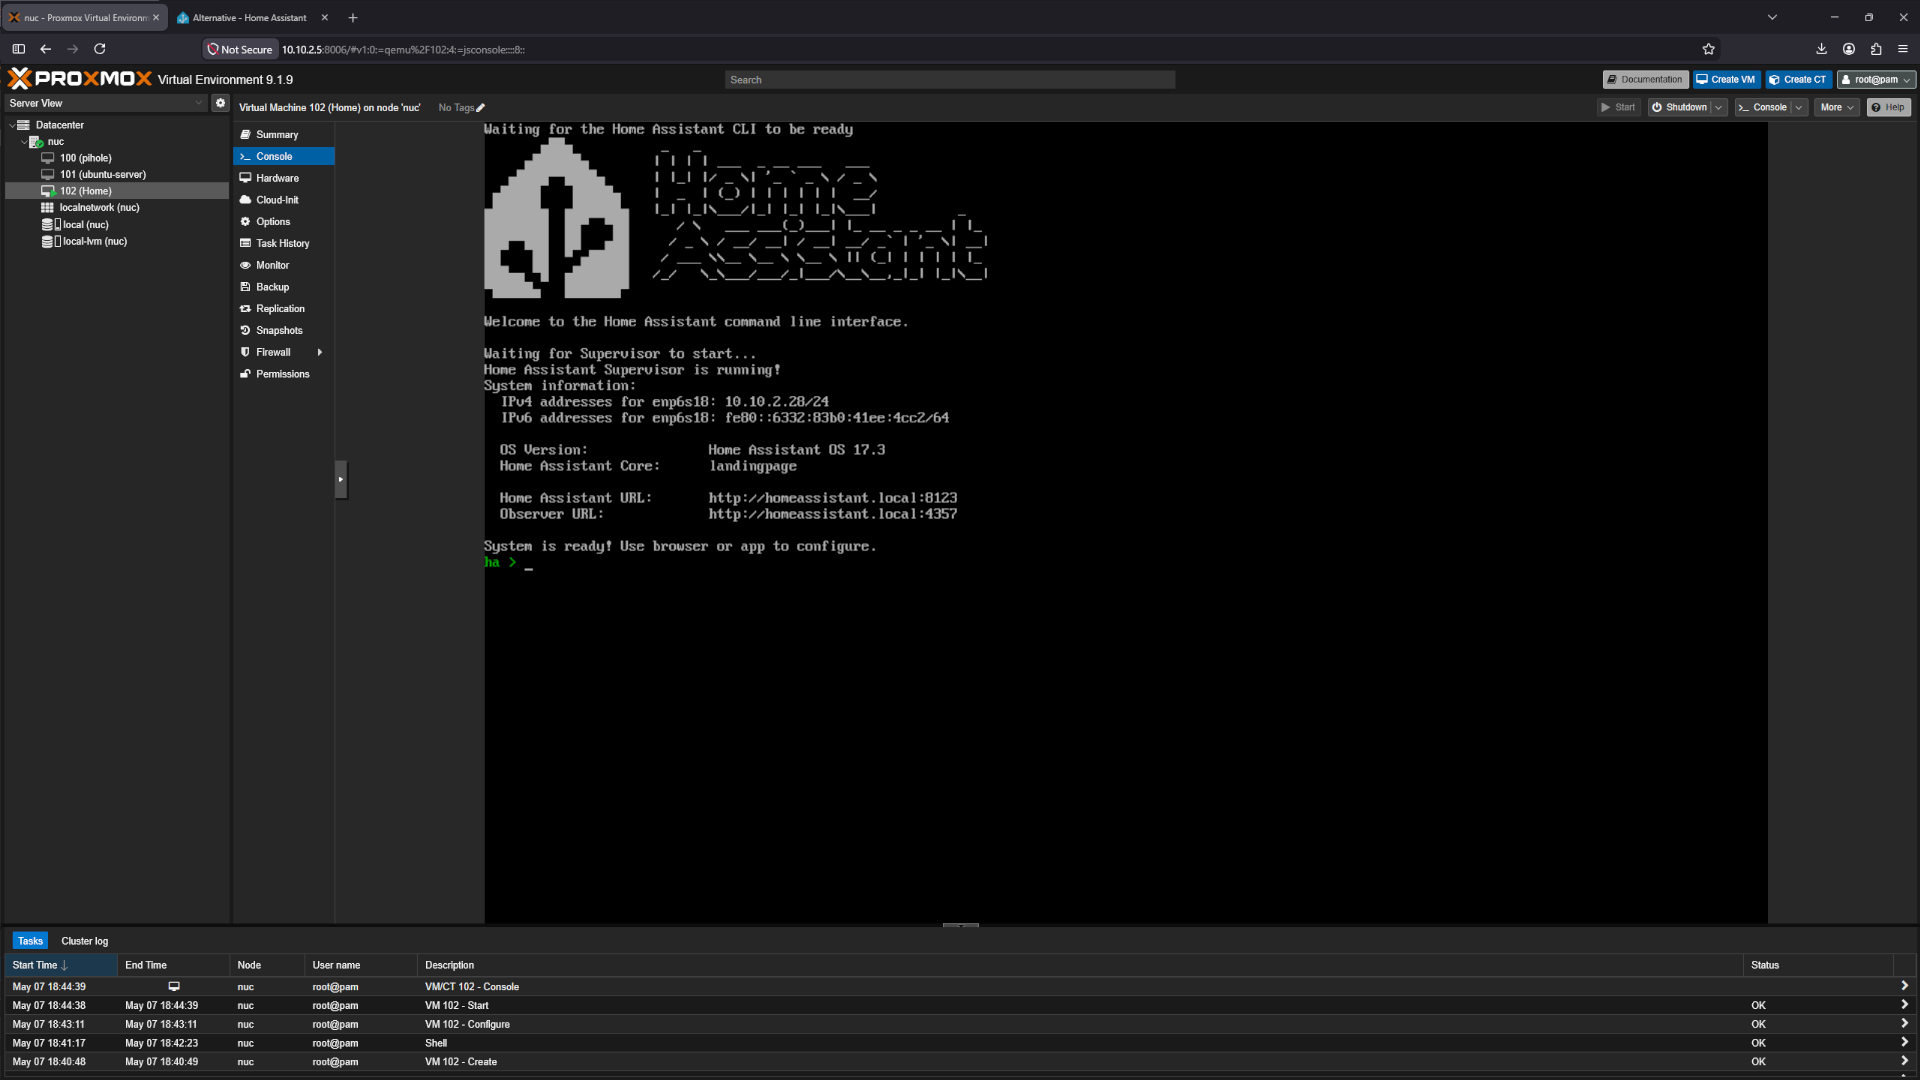 Home Assistant startet
Web interface
It’s time to access the system — log in through the web interface. The installation process can take a while to complete.
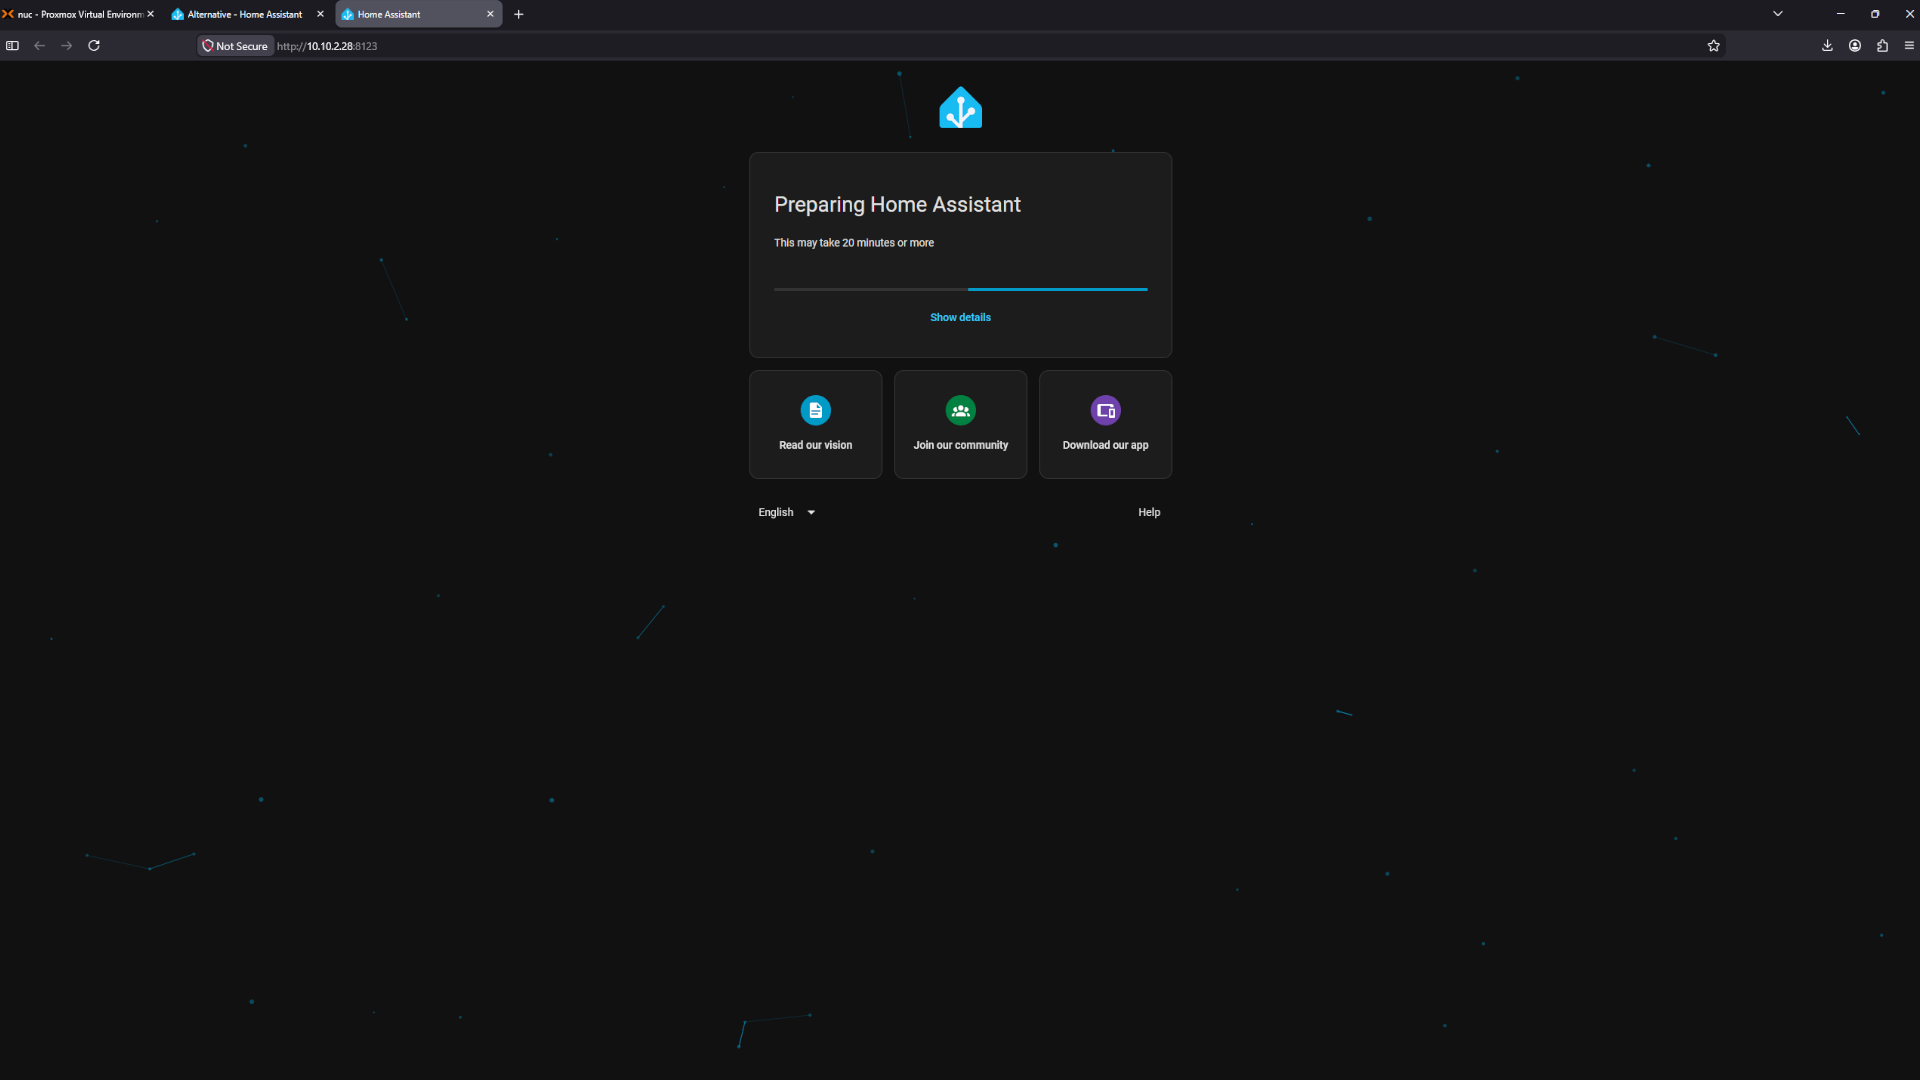 First login
Once the setup is complete, select Create my smart home
 Create Home assistant
Fill in the details by choosing a name, username, and password.
 Make user
Optionally set a location; you can adjust it later if needed.
 Location
Now choose the country.
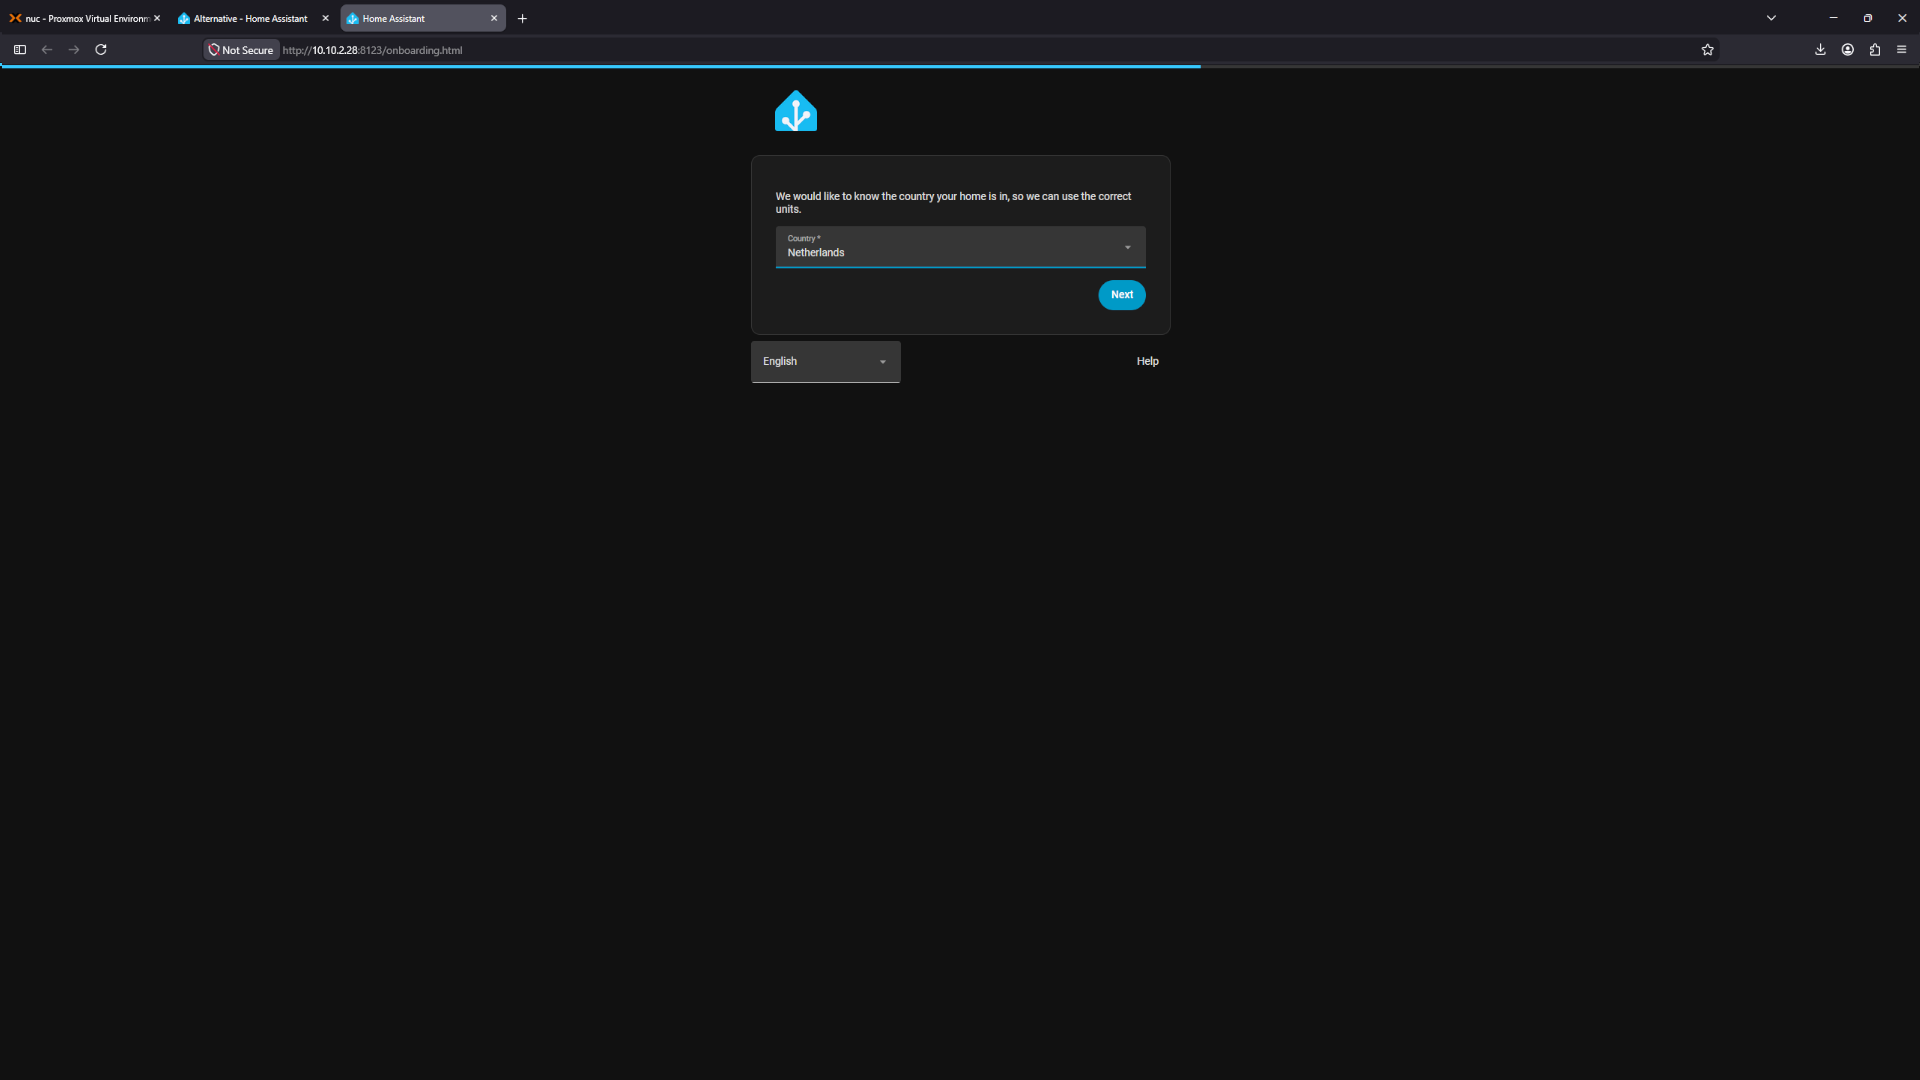 Country
Decide what information you want to share with Home Assistant to help support development.
 Help us
Home Assistant is now successfully installed and running.