Promox Ubuntu server

How to setup a virtuel machine with Ubuntu server in proxmox
Step-by-Step Installation Guide
Obtain the ISO file for your Ubuntu server by downloading it first. link below
In the Proxmox web interface, go to your node, default pve mine is nuc, then local (storage name) -> ISO Images -> Upload.
 Upload ISO file
Click Create VM at the top right.
 Create WM
Pick a VM ID, type in a name for your VM, and then click Next.
 Sever name and ID
Select the ISO image you want to use.
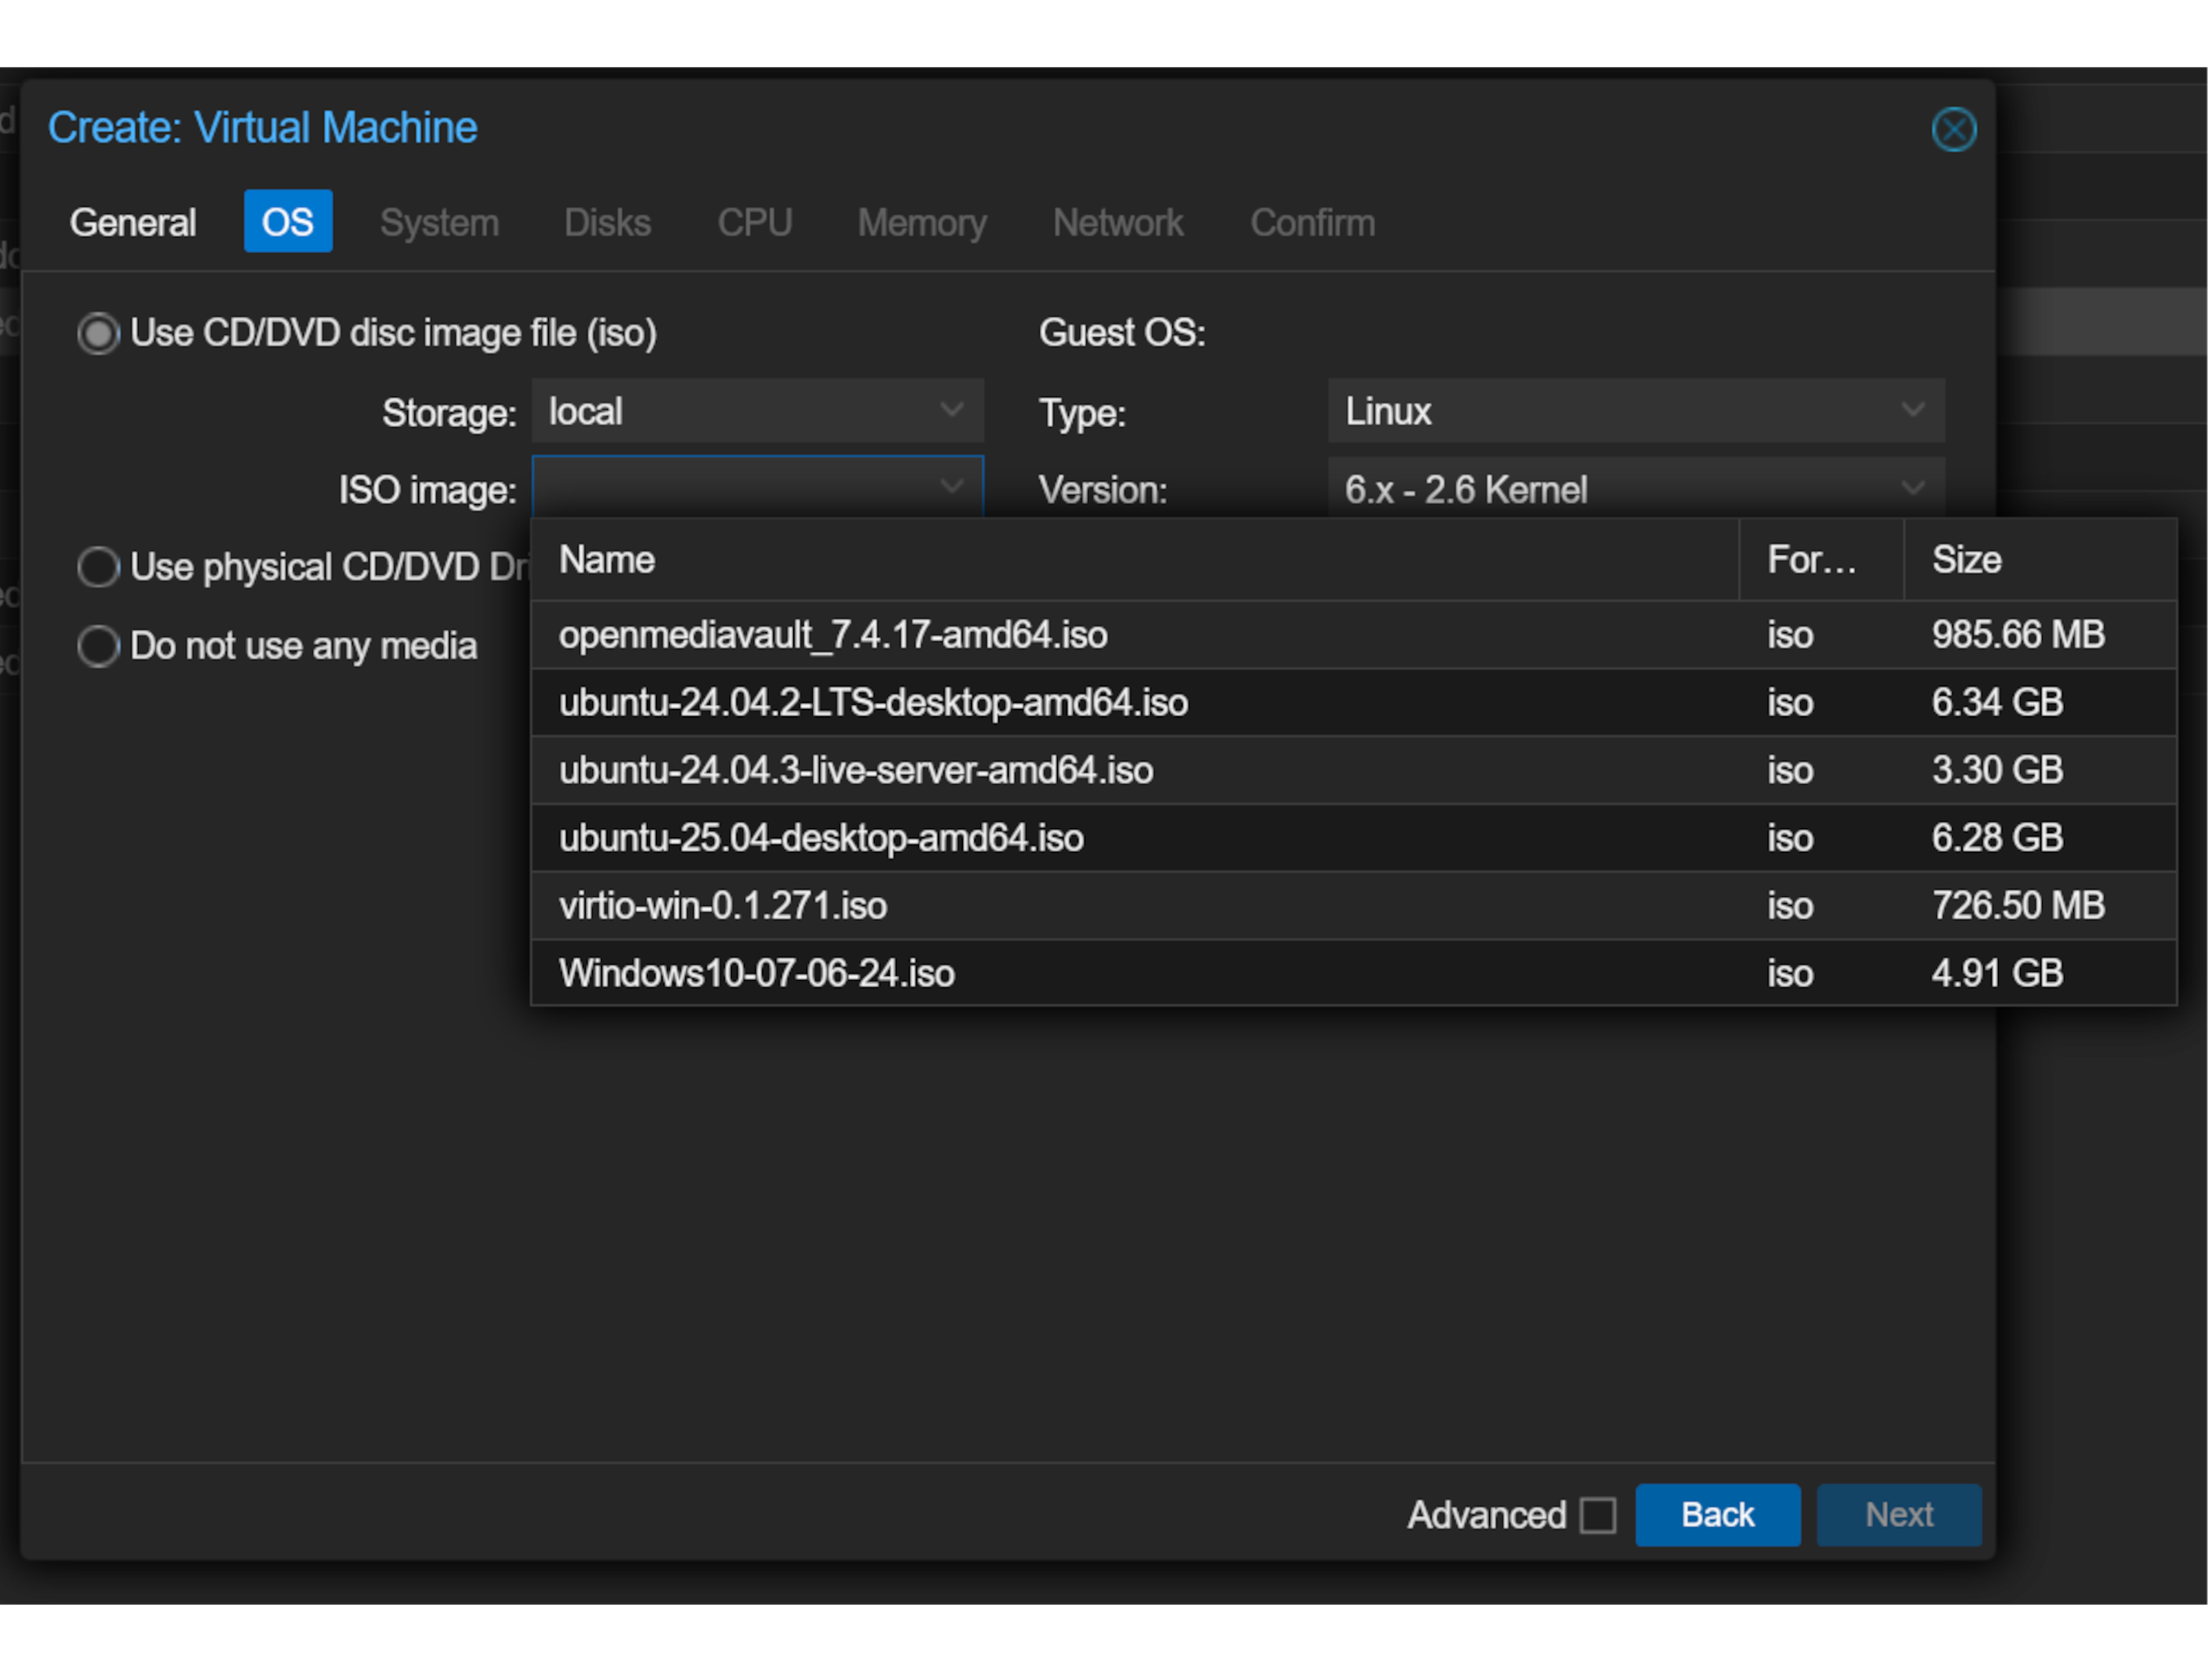 Select ISO
Now pick the machine type. I go with Q35 instead of i440FX because it handles PCIe passthrough and newer hardware better. And set a check mark in Qemu-agent
 Machine type
Select storage (if your got more than one disk) and size, set at check mark in Discard and SSD emulation.
 HDD size
Allocate cores (2-4 recommended for general use).
 CPU Cores
Assign system memory.
The required memory varies based on workload, starting from 1024 MB and increasing as needed
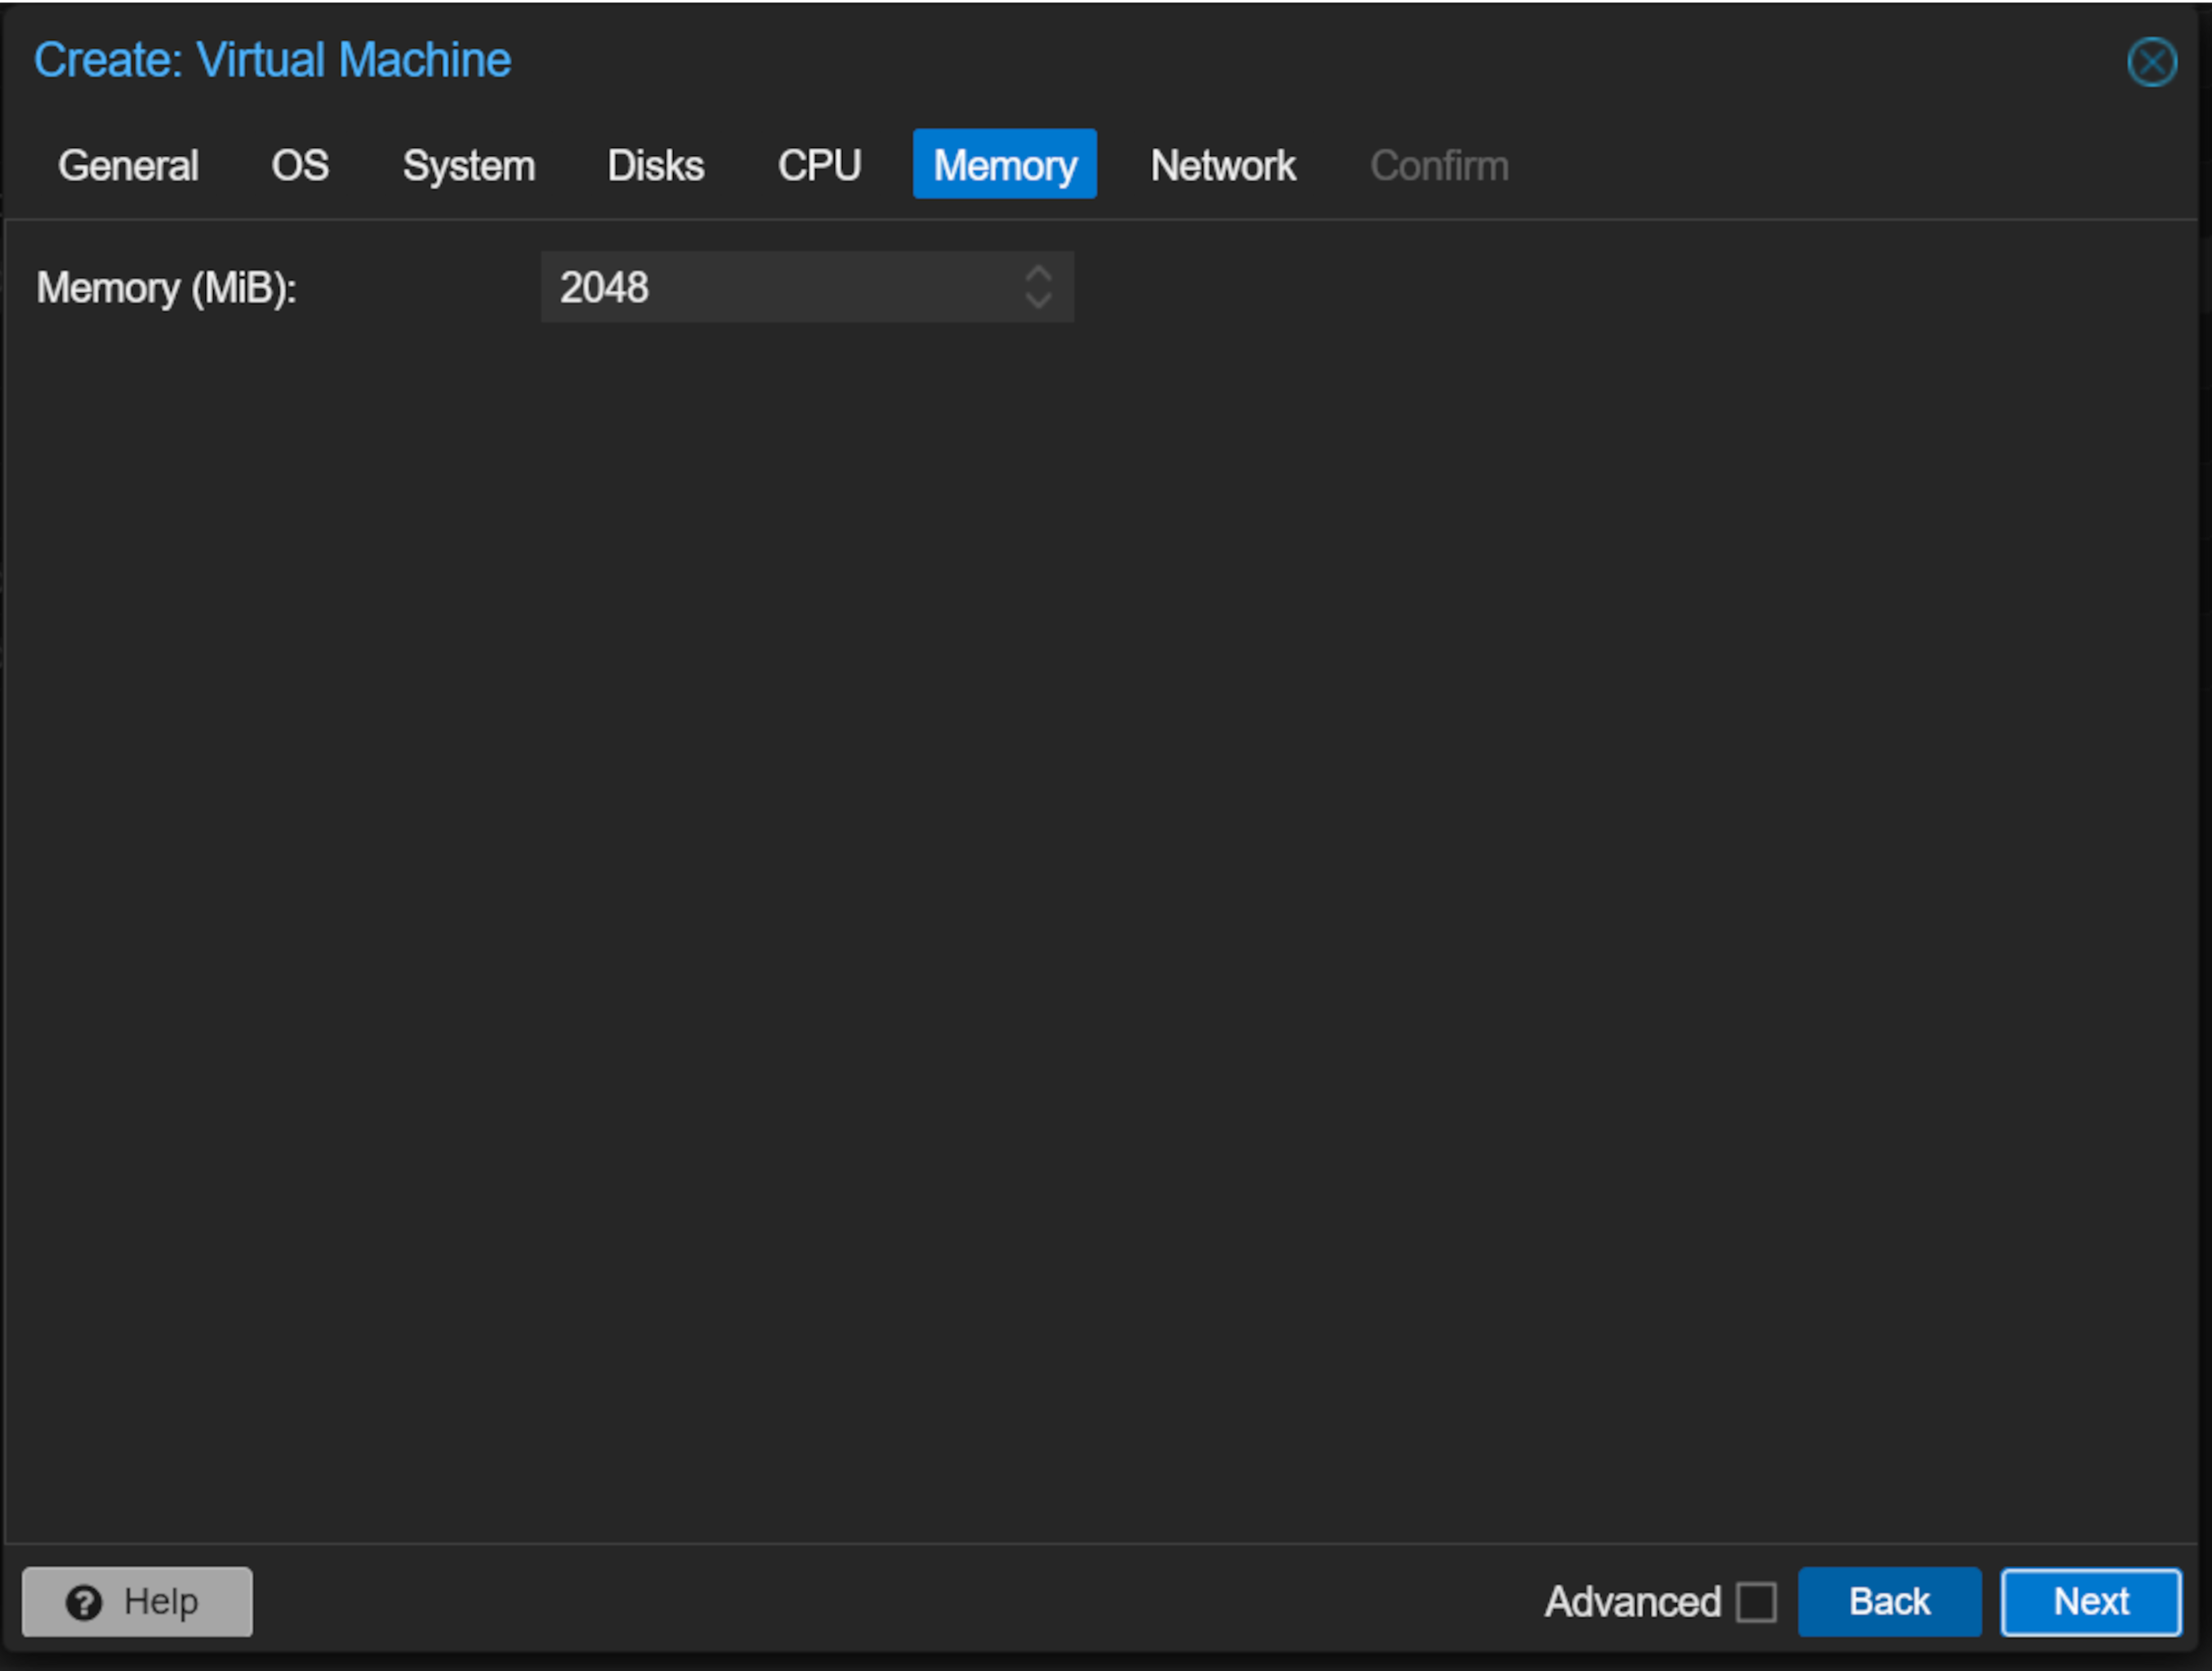 Memory
Set the network, leave default settings (usually vmbr0) if you need to set a lan its here.
 Network
Uncheck start after created. Review and click Finish.
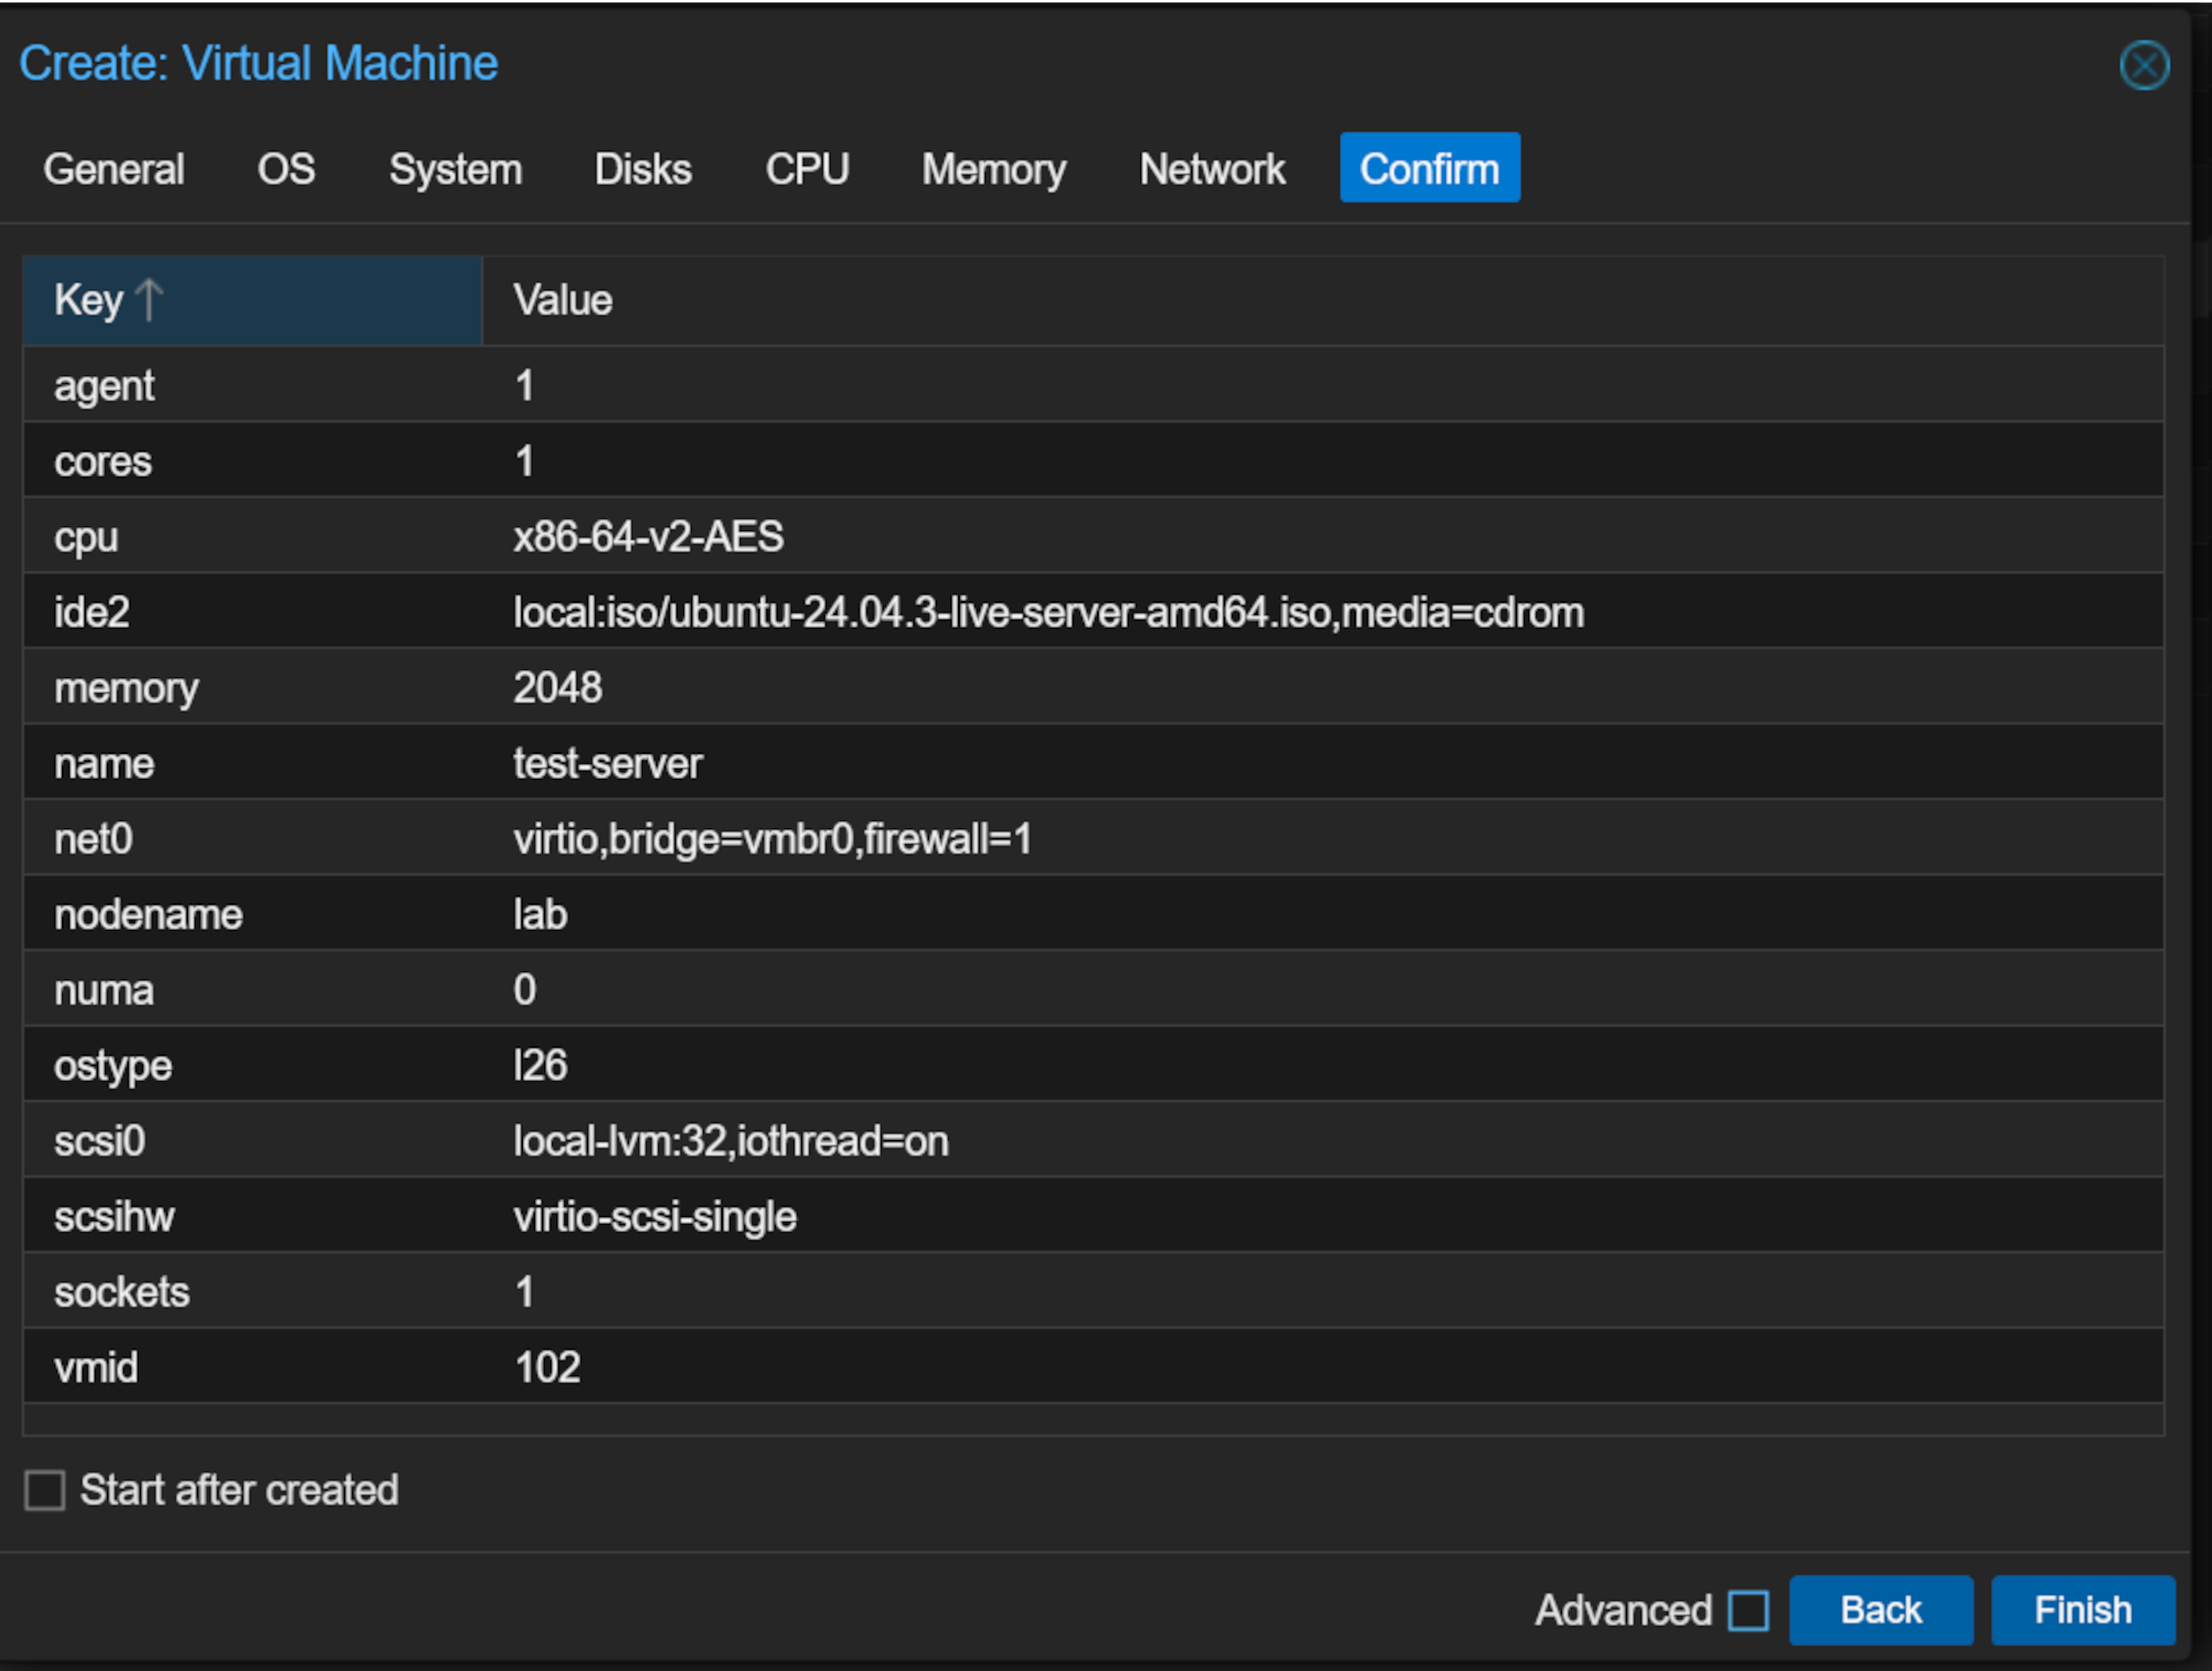 Network
All done now Promox is up and running with a VM.
Start and Install Operating System
Select your new VM in the left menu.
Then click Start, and click on Console to view the VM screen.
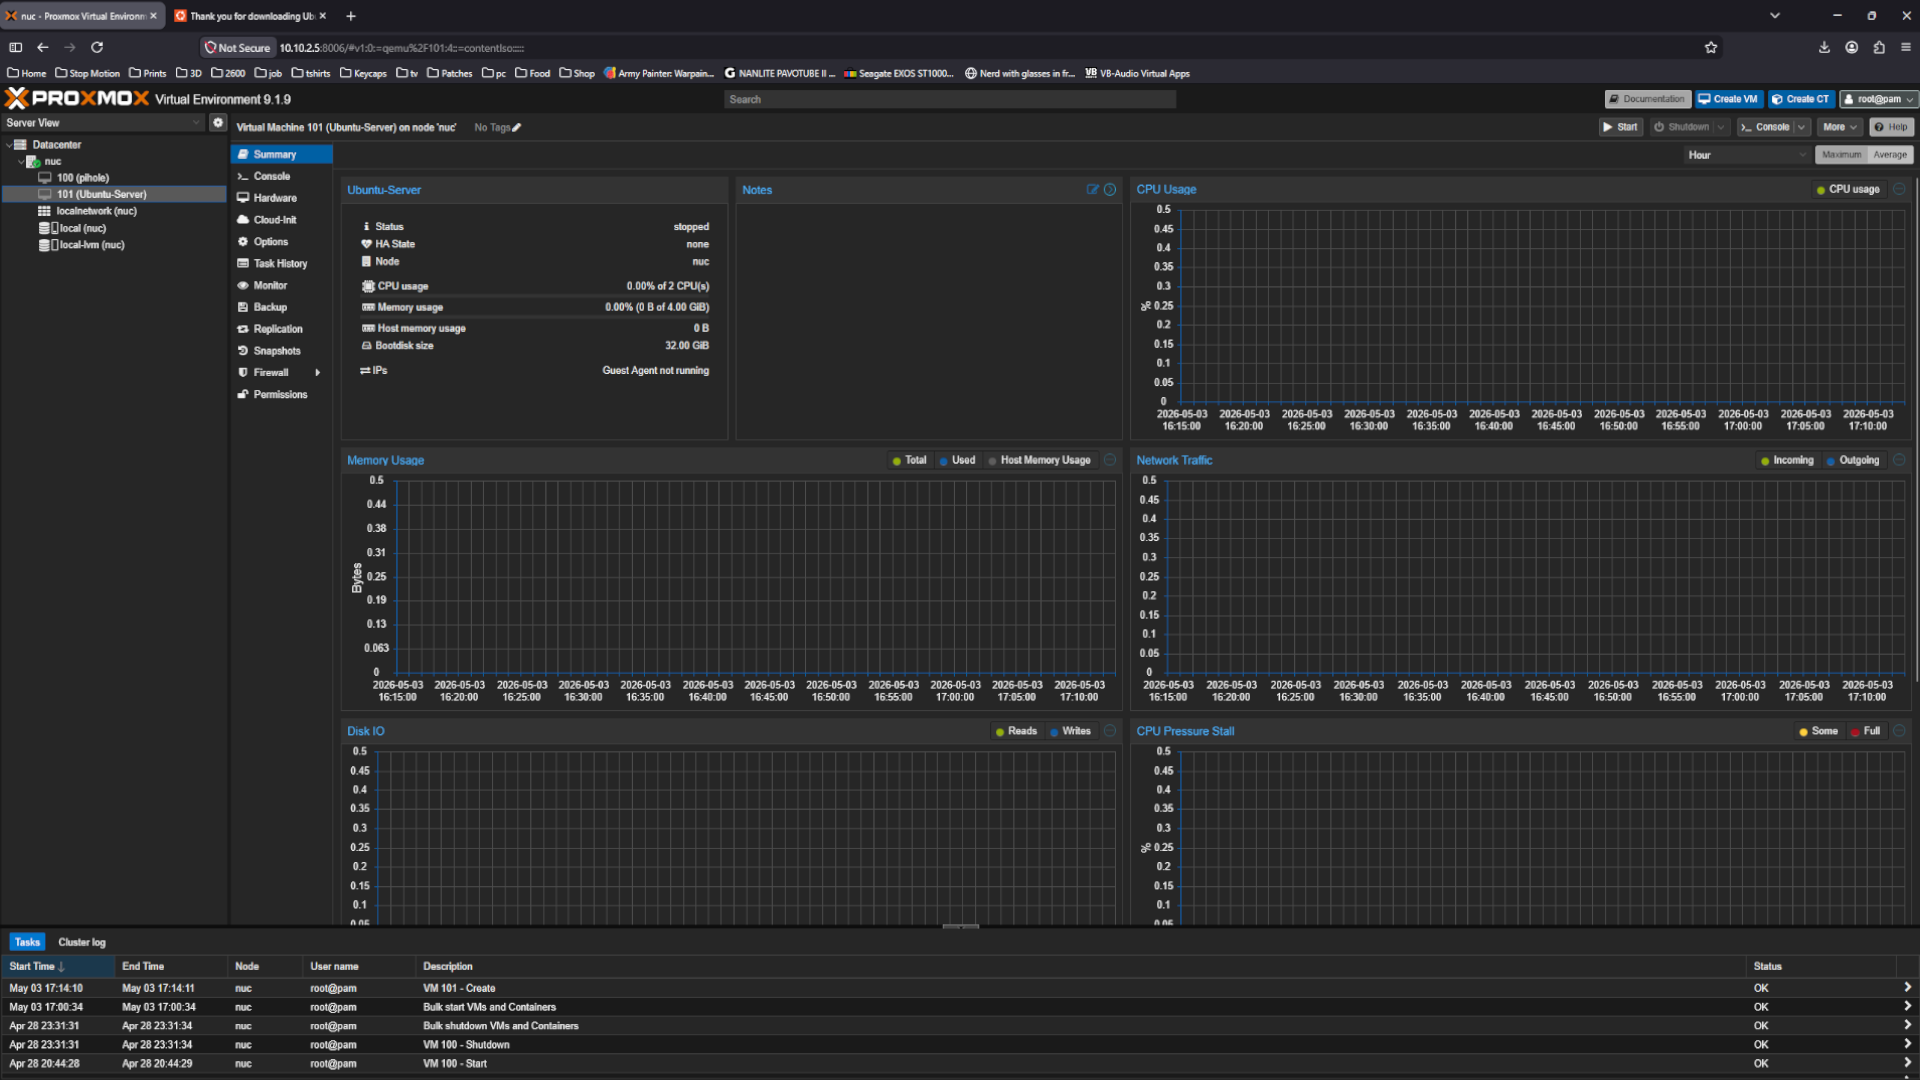 Network
Select Try or Install Ubuntu Server
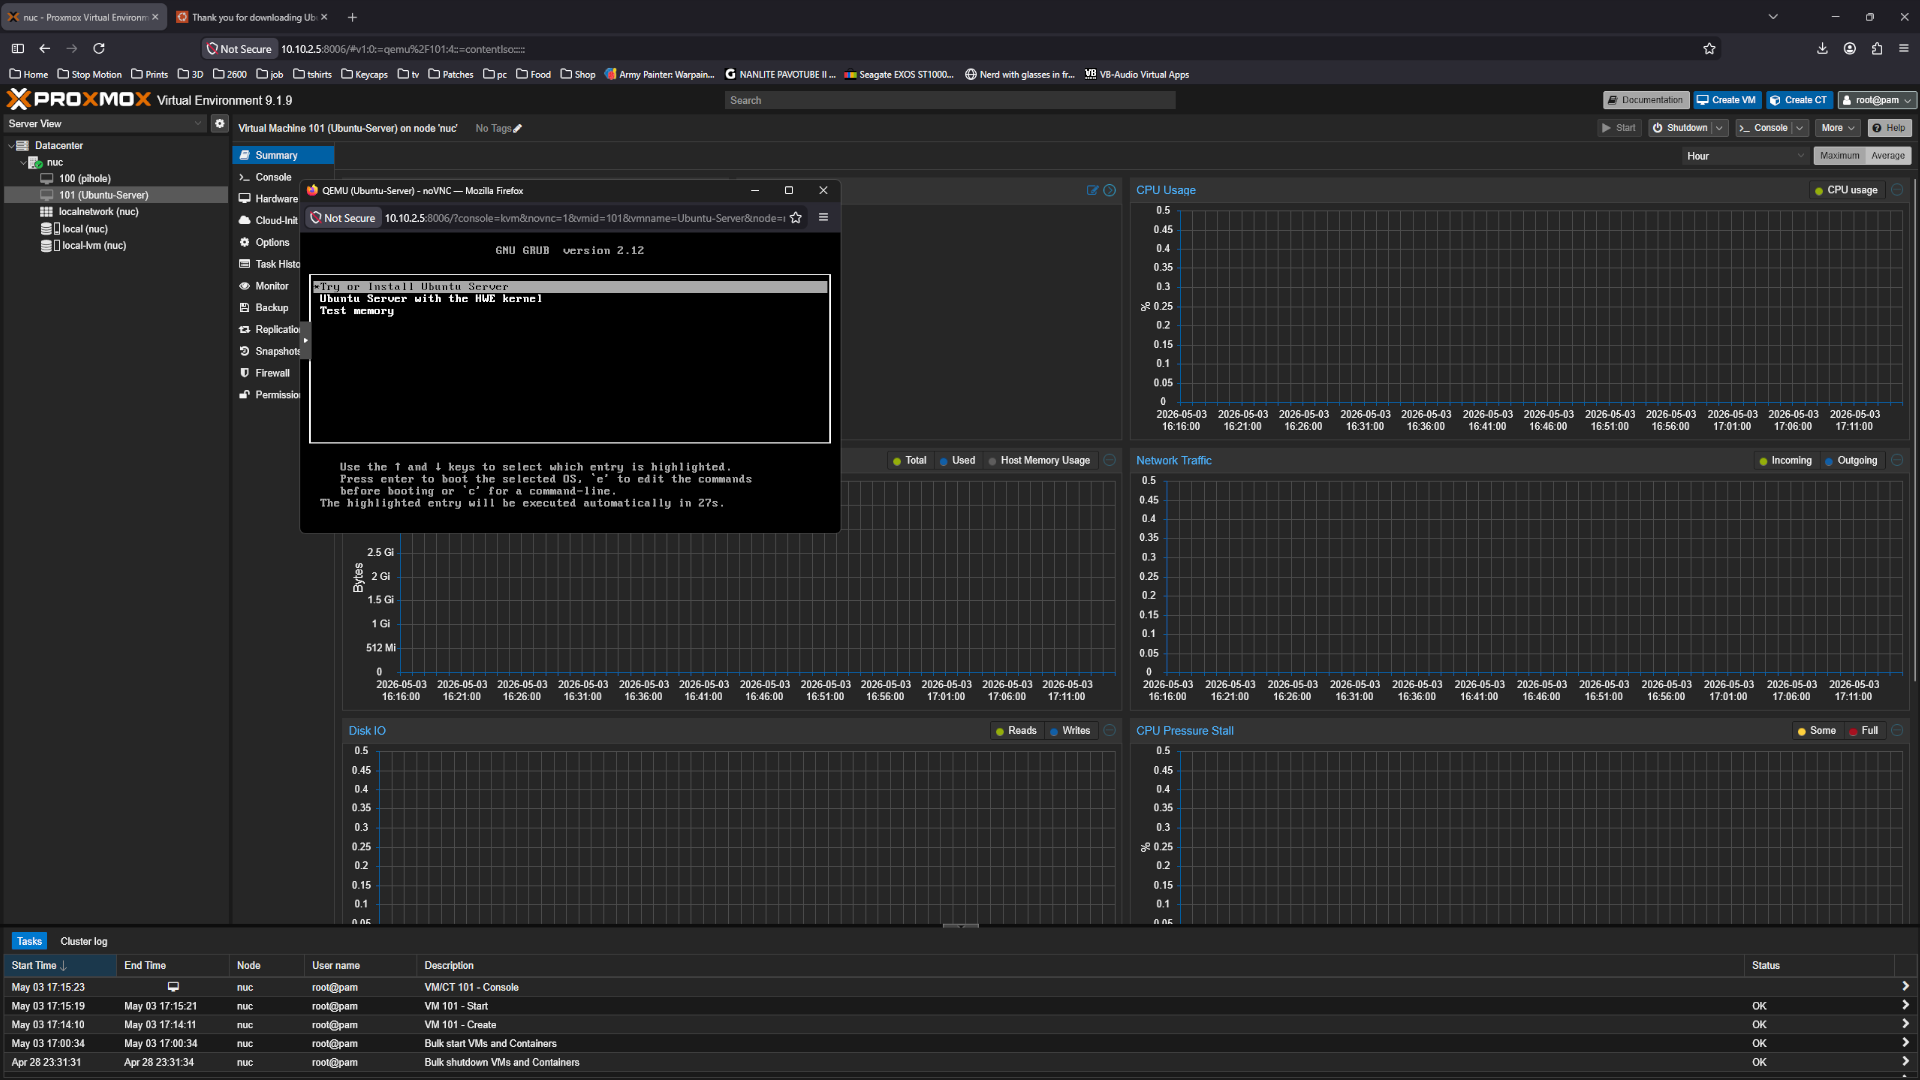 Network
Choose your desired language.
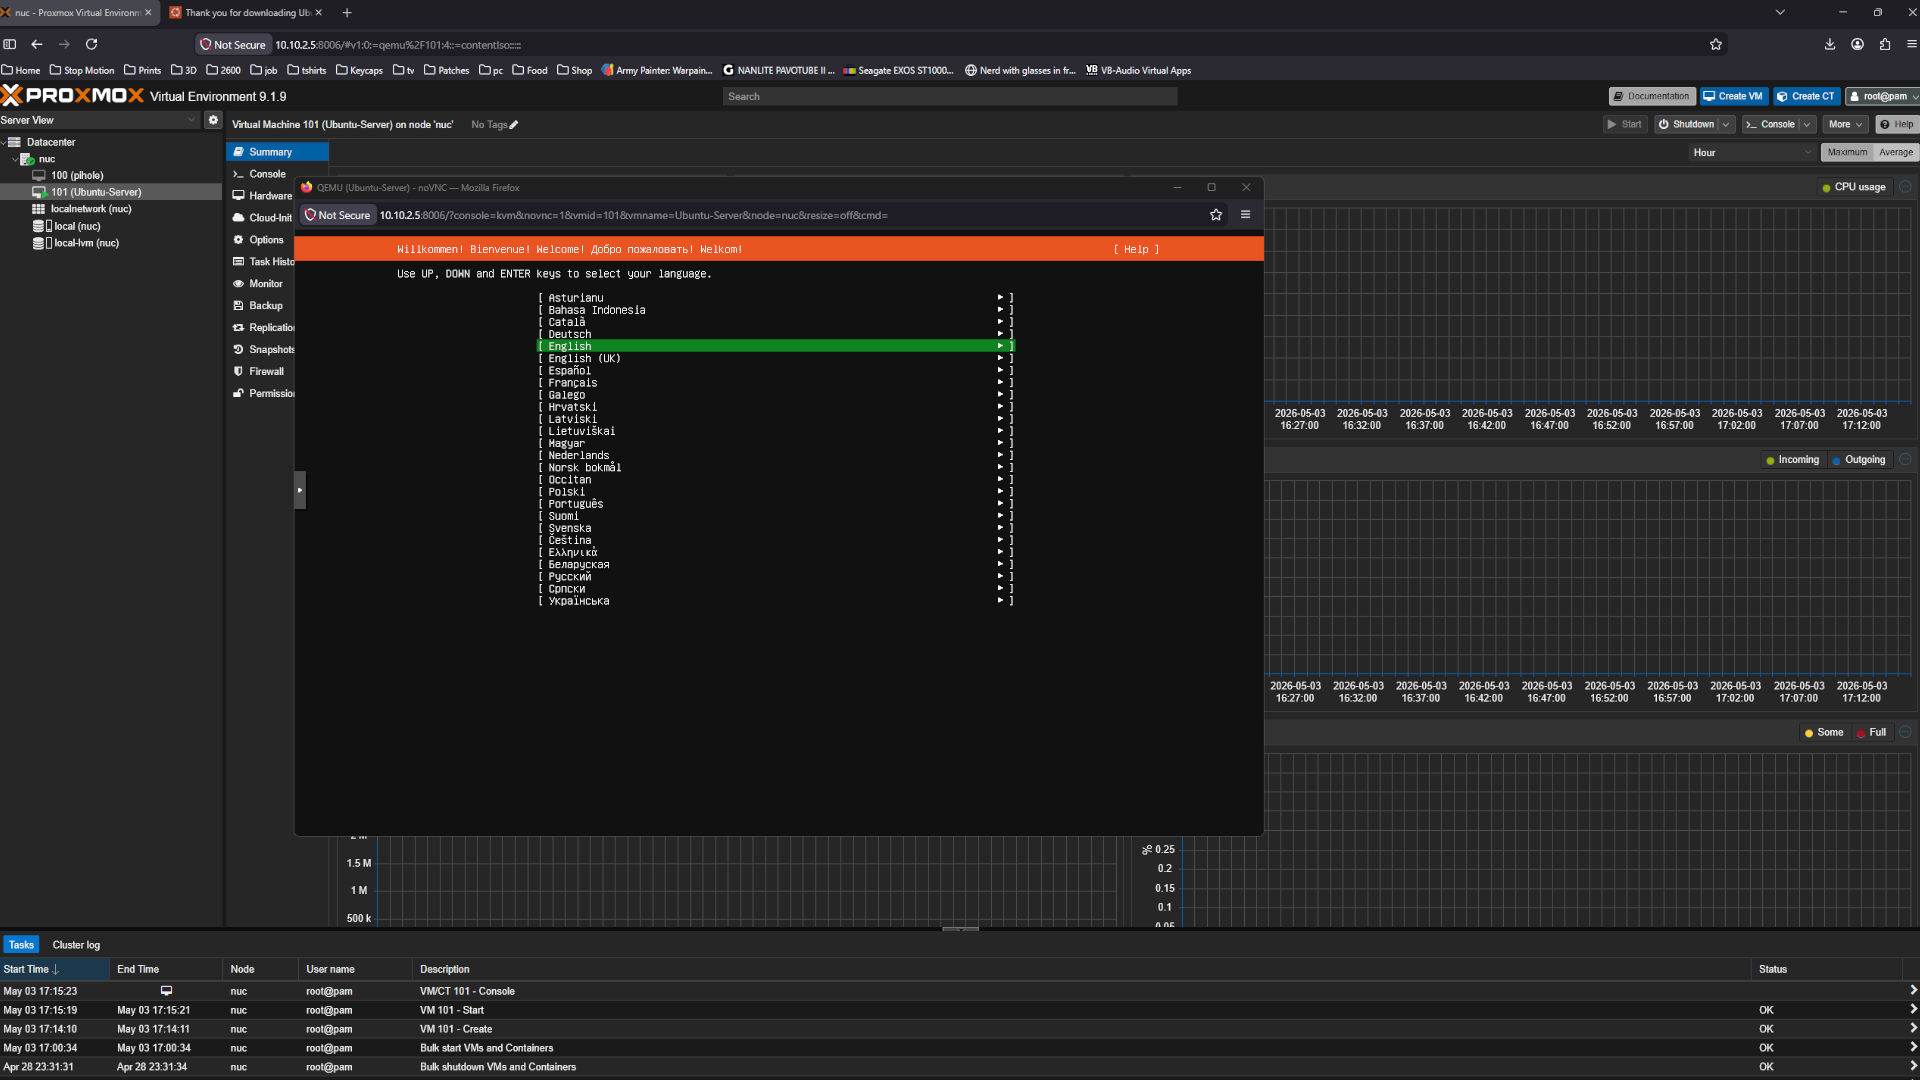 Network
Update the installer
 Network
Select your keyboard layout
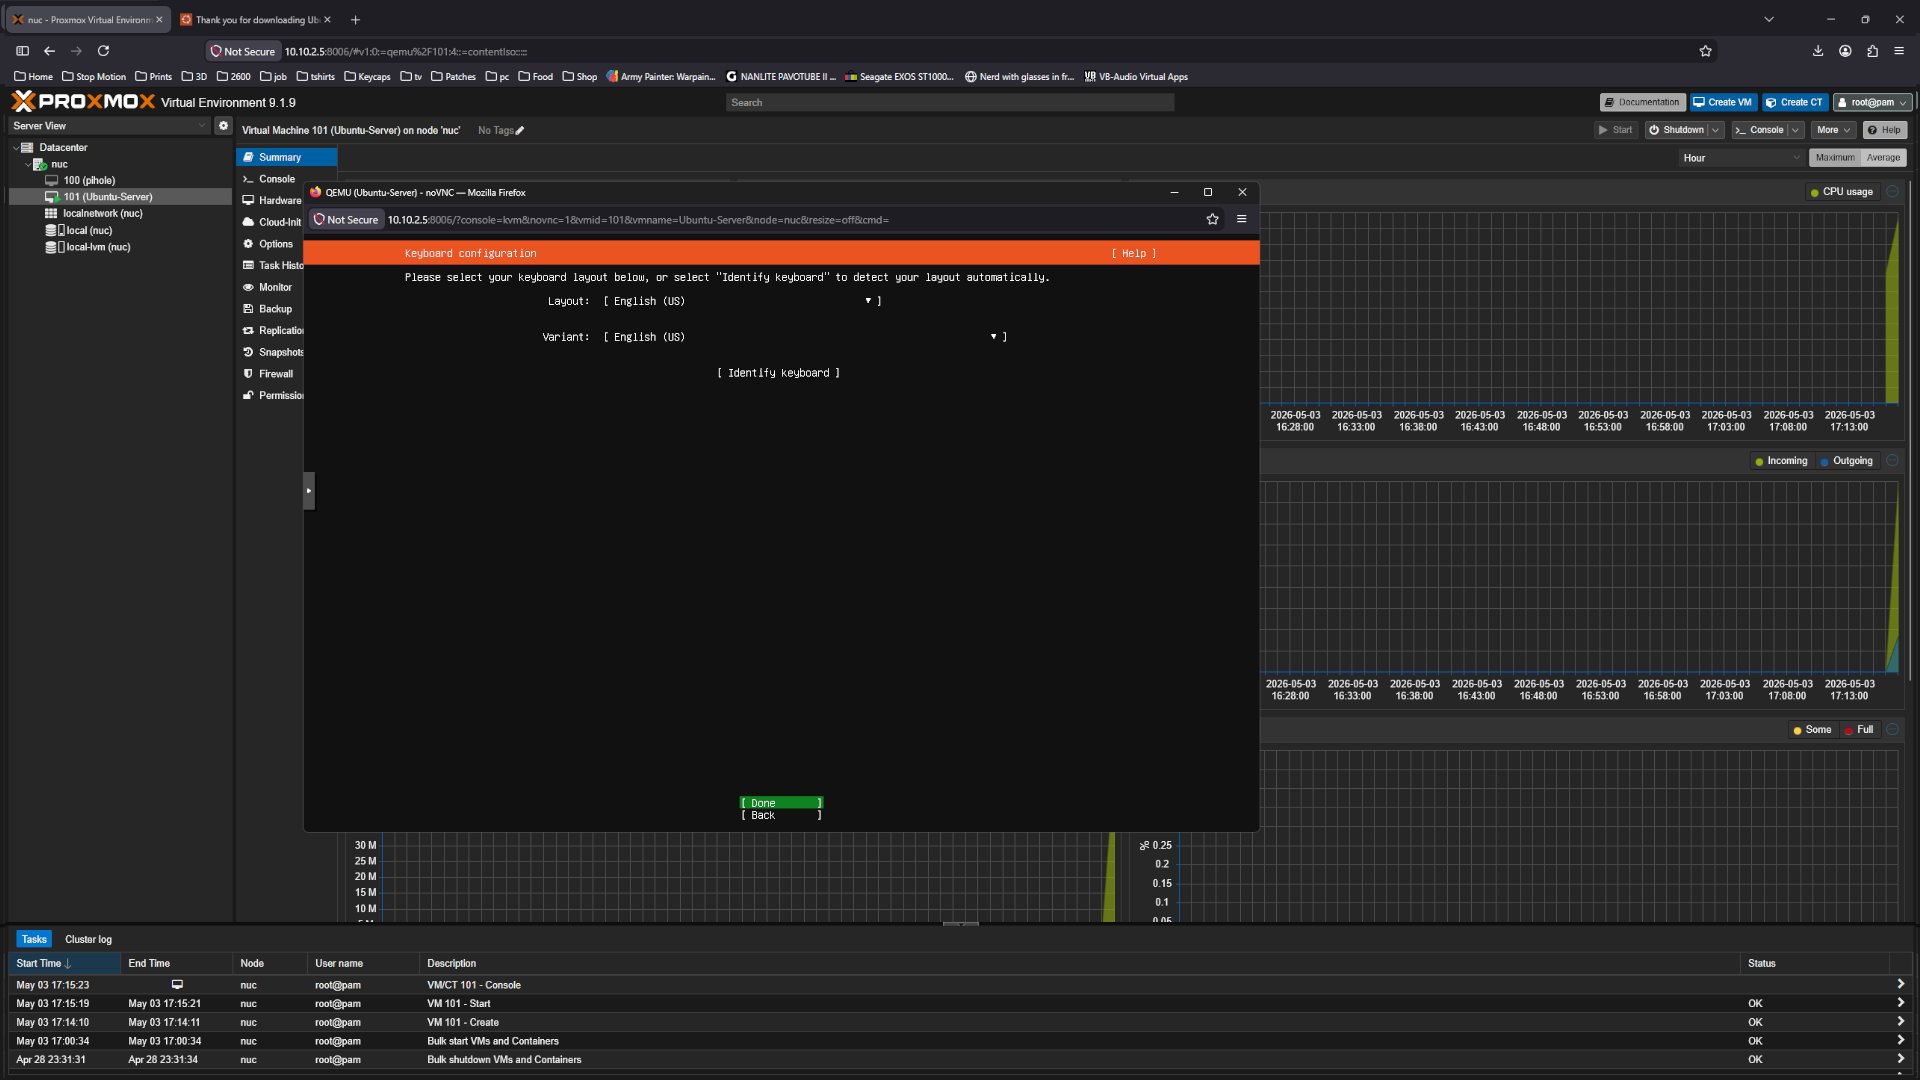 Network
Select ubuntu Server
 Network
Now time to set the IP set it manual Select edit IPv4
 Network
Then manual
 Network
Set the subnet /24 explain, address, gateway, and name server DNS and save
 Network
Hit Done
 Network
For proxy just hit done
 Network
Wait a couple of secs to update adn hit done.
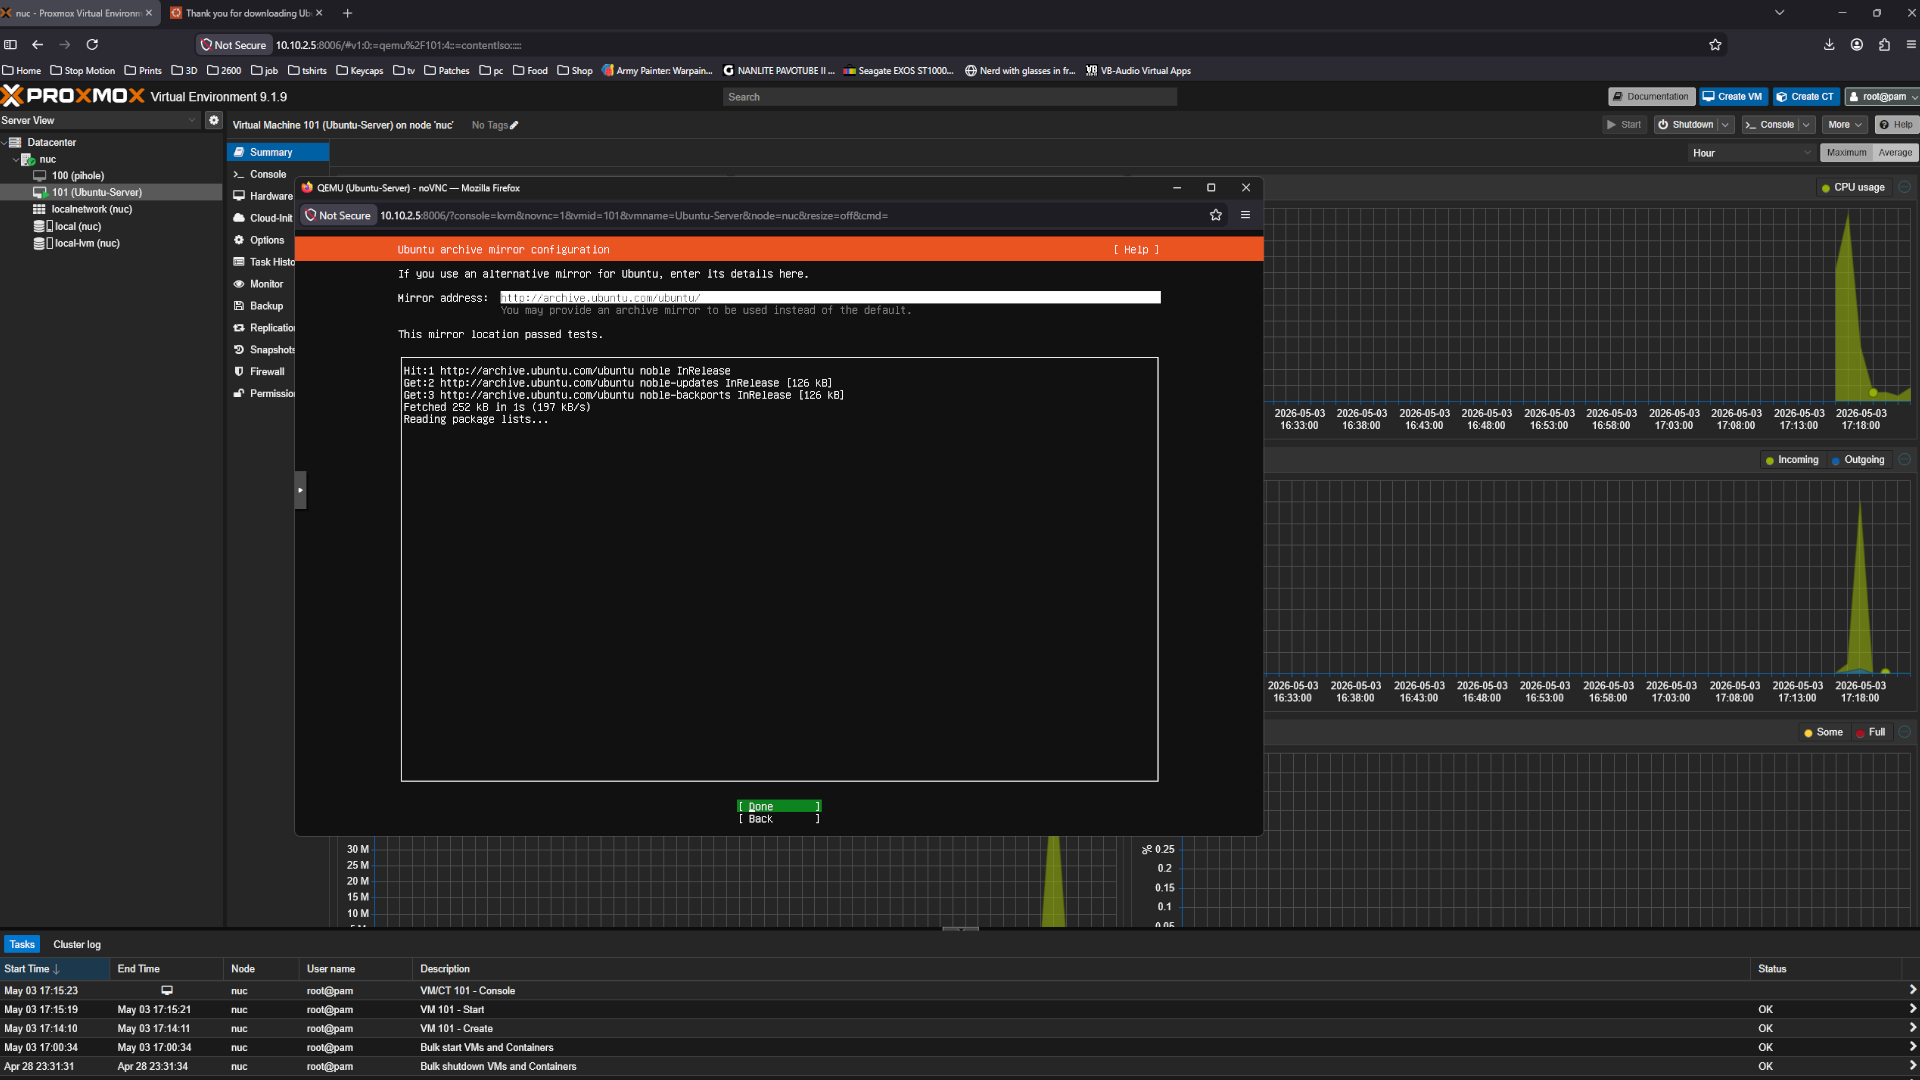 Network
Select use an entire disk
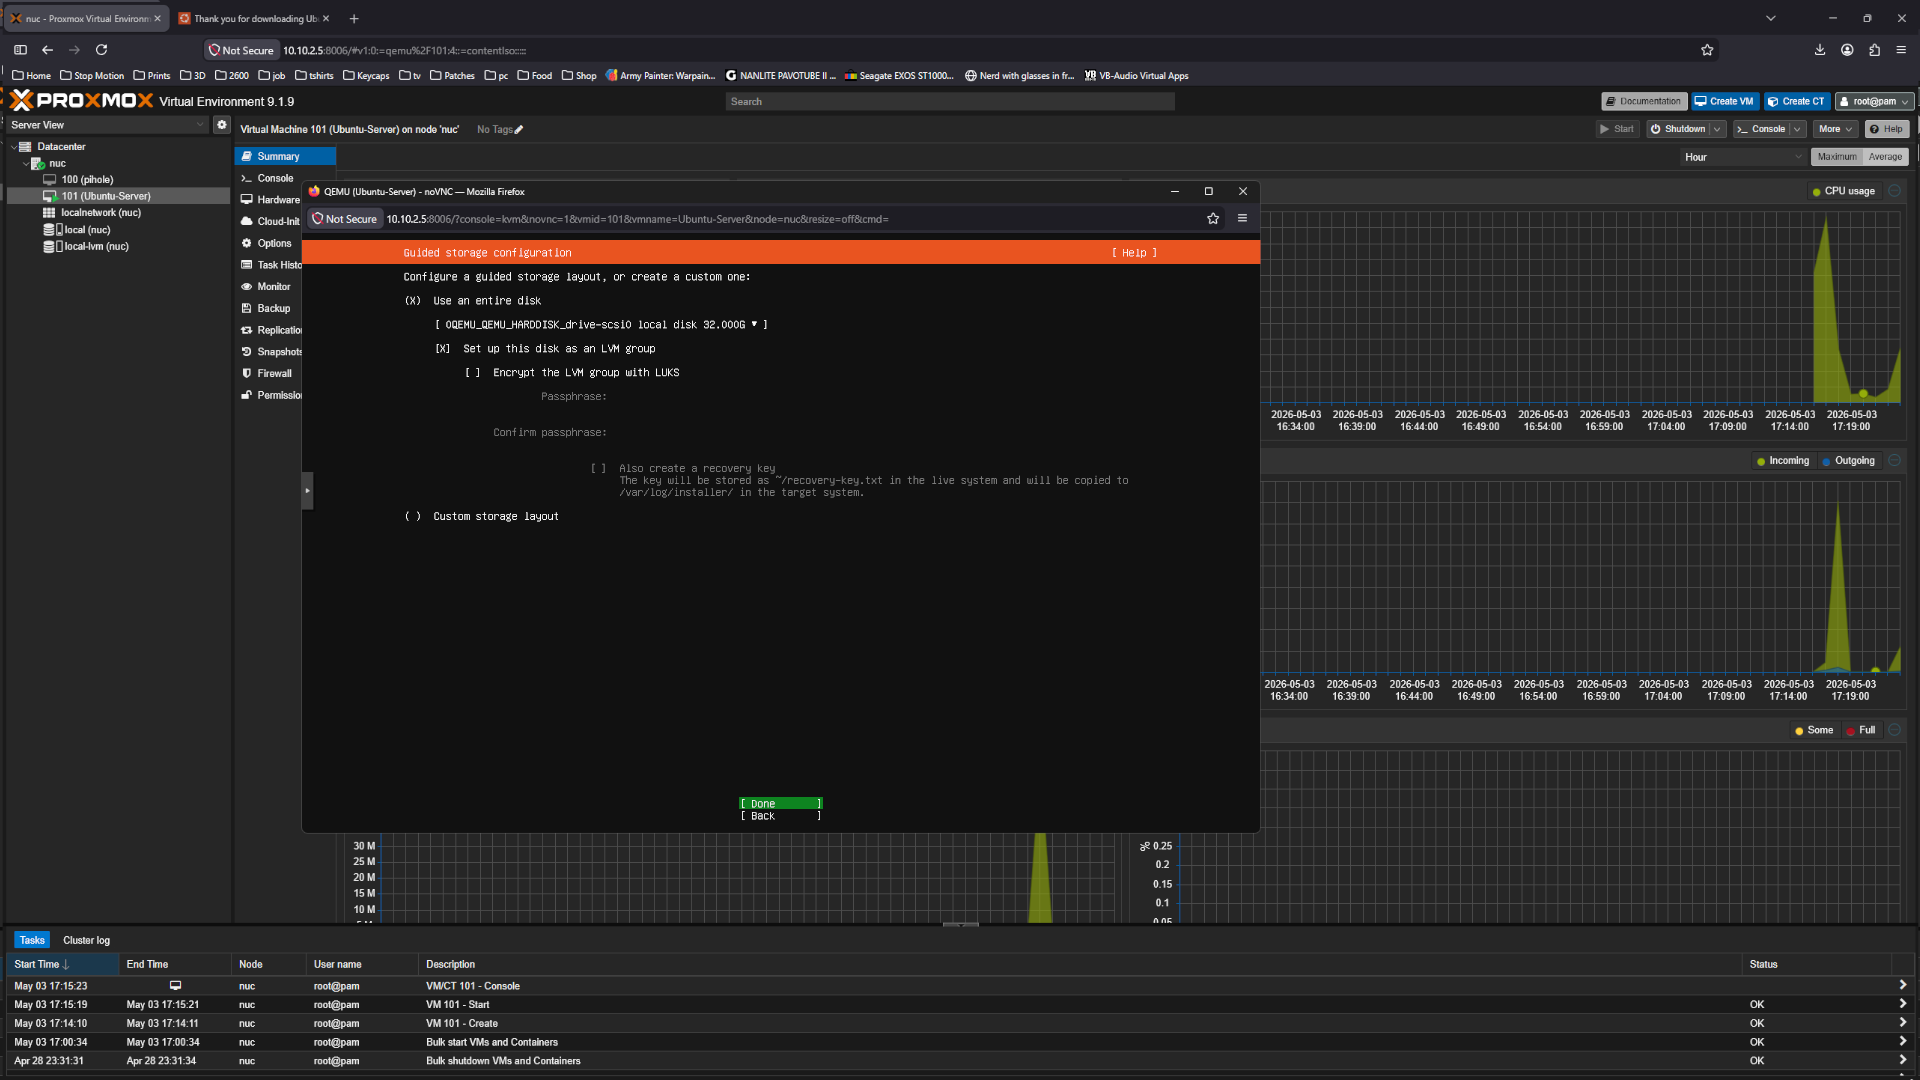 Network
Confirm the storage setup
 Network
Select continue
 Network
Type in a name, server name, user name and make a password then hit done
 Network
Select skip for now and continue
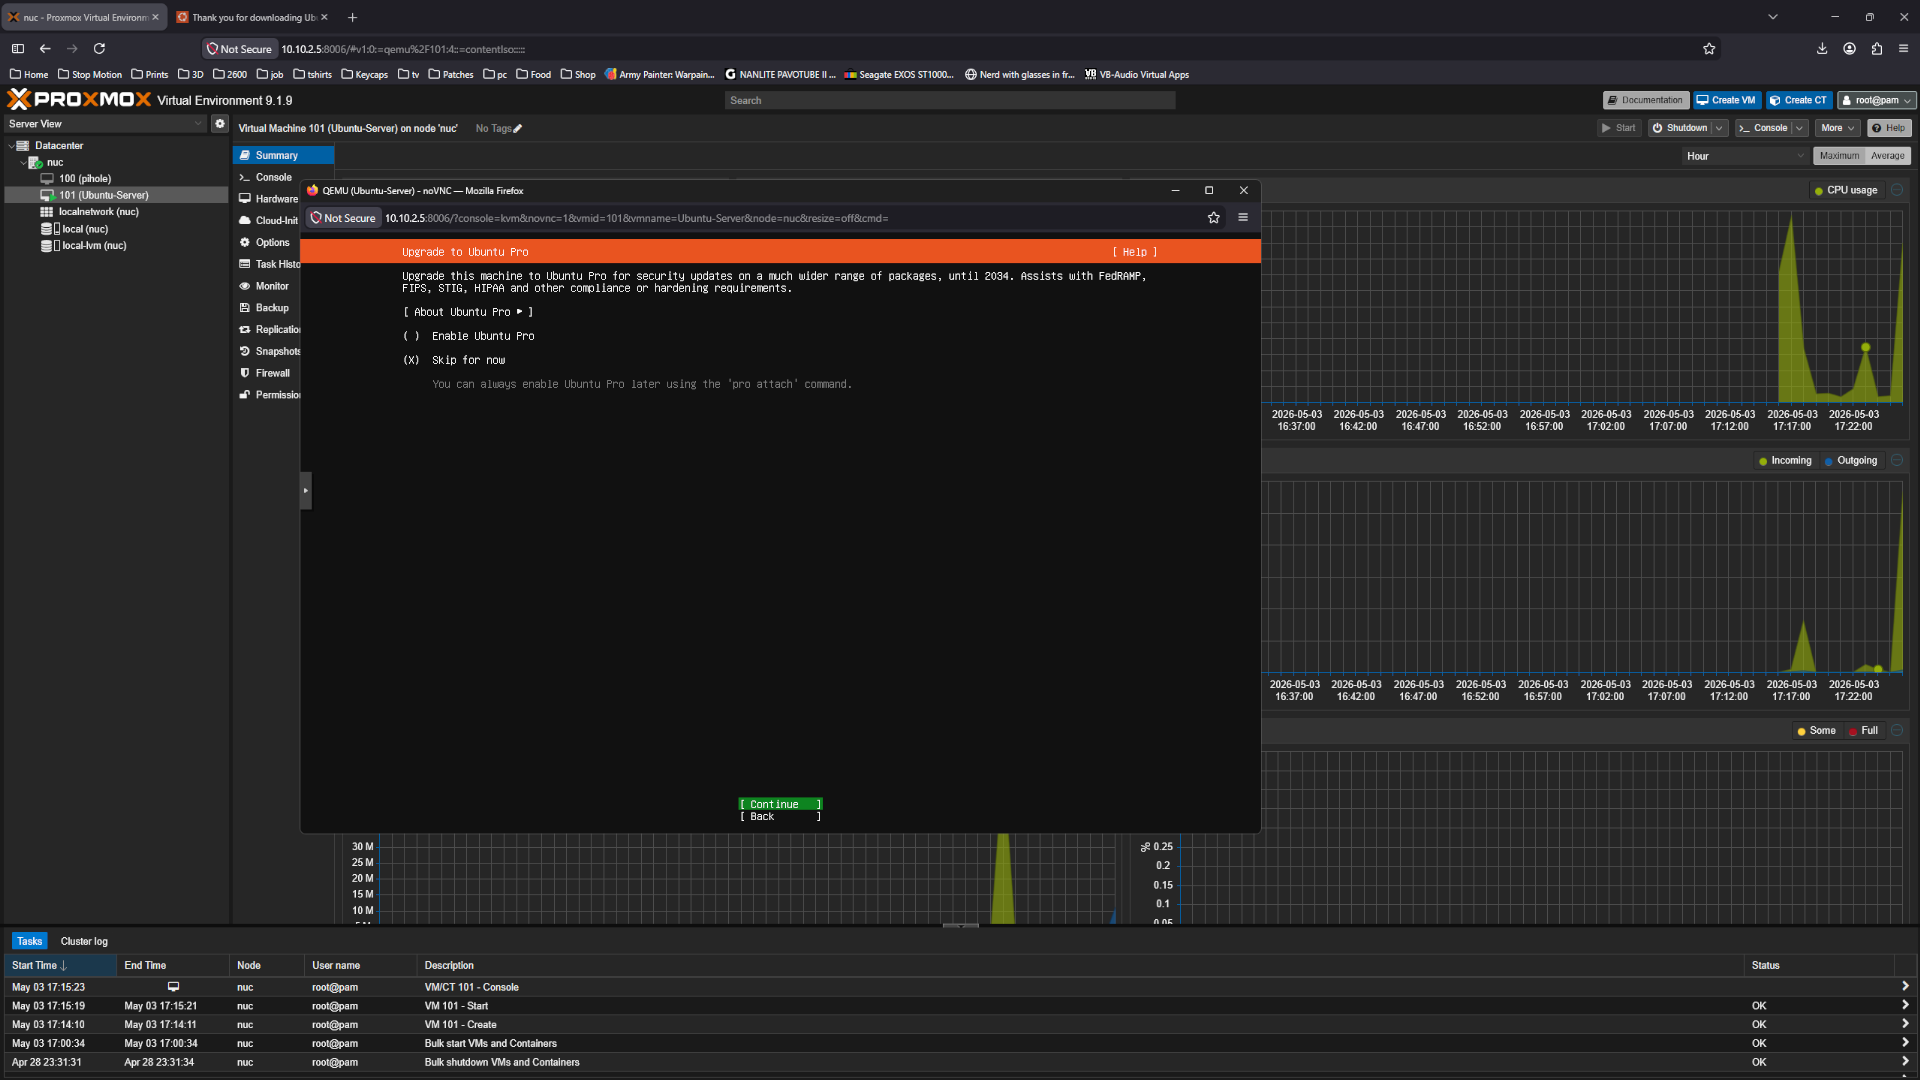 Network
Set a check mark in Install OpenSSH server
 Network
I skip this but if there are any 3 party snaps
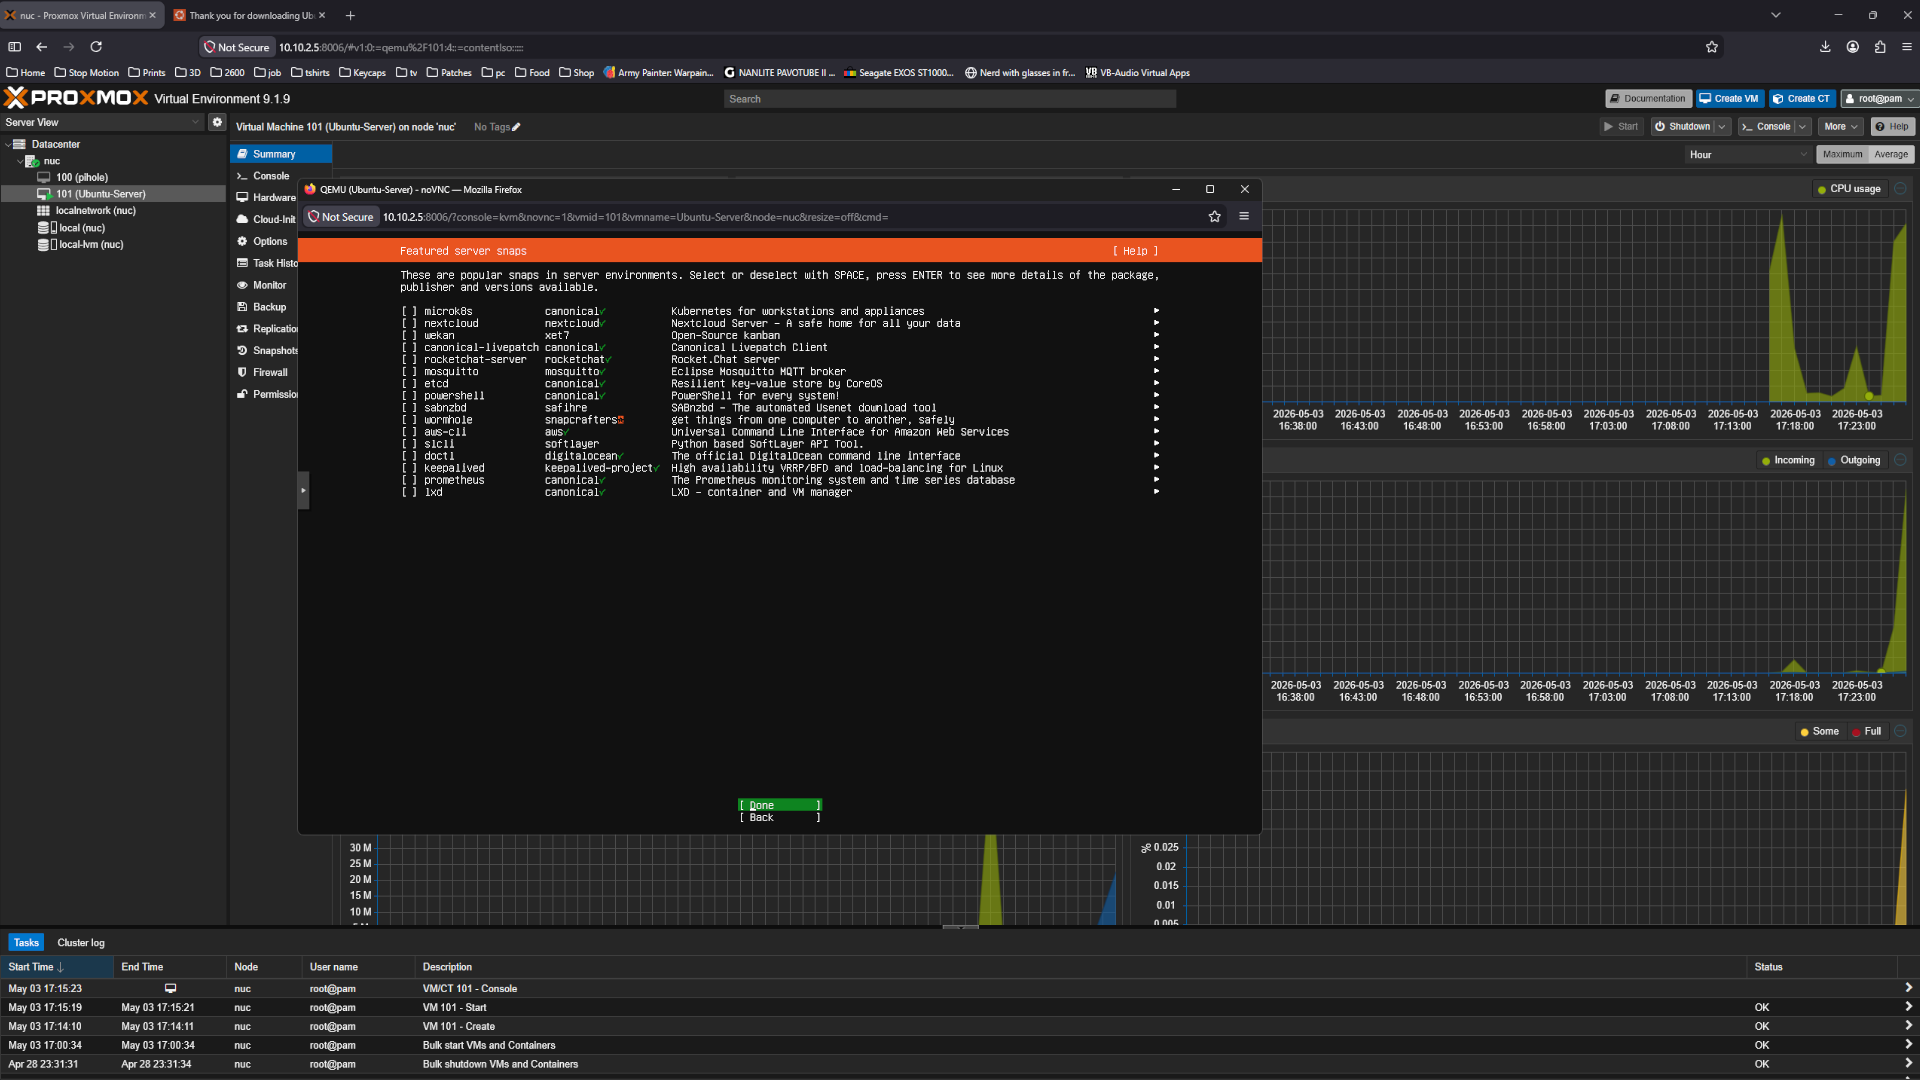 Network
Now reboot
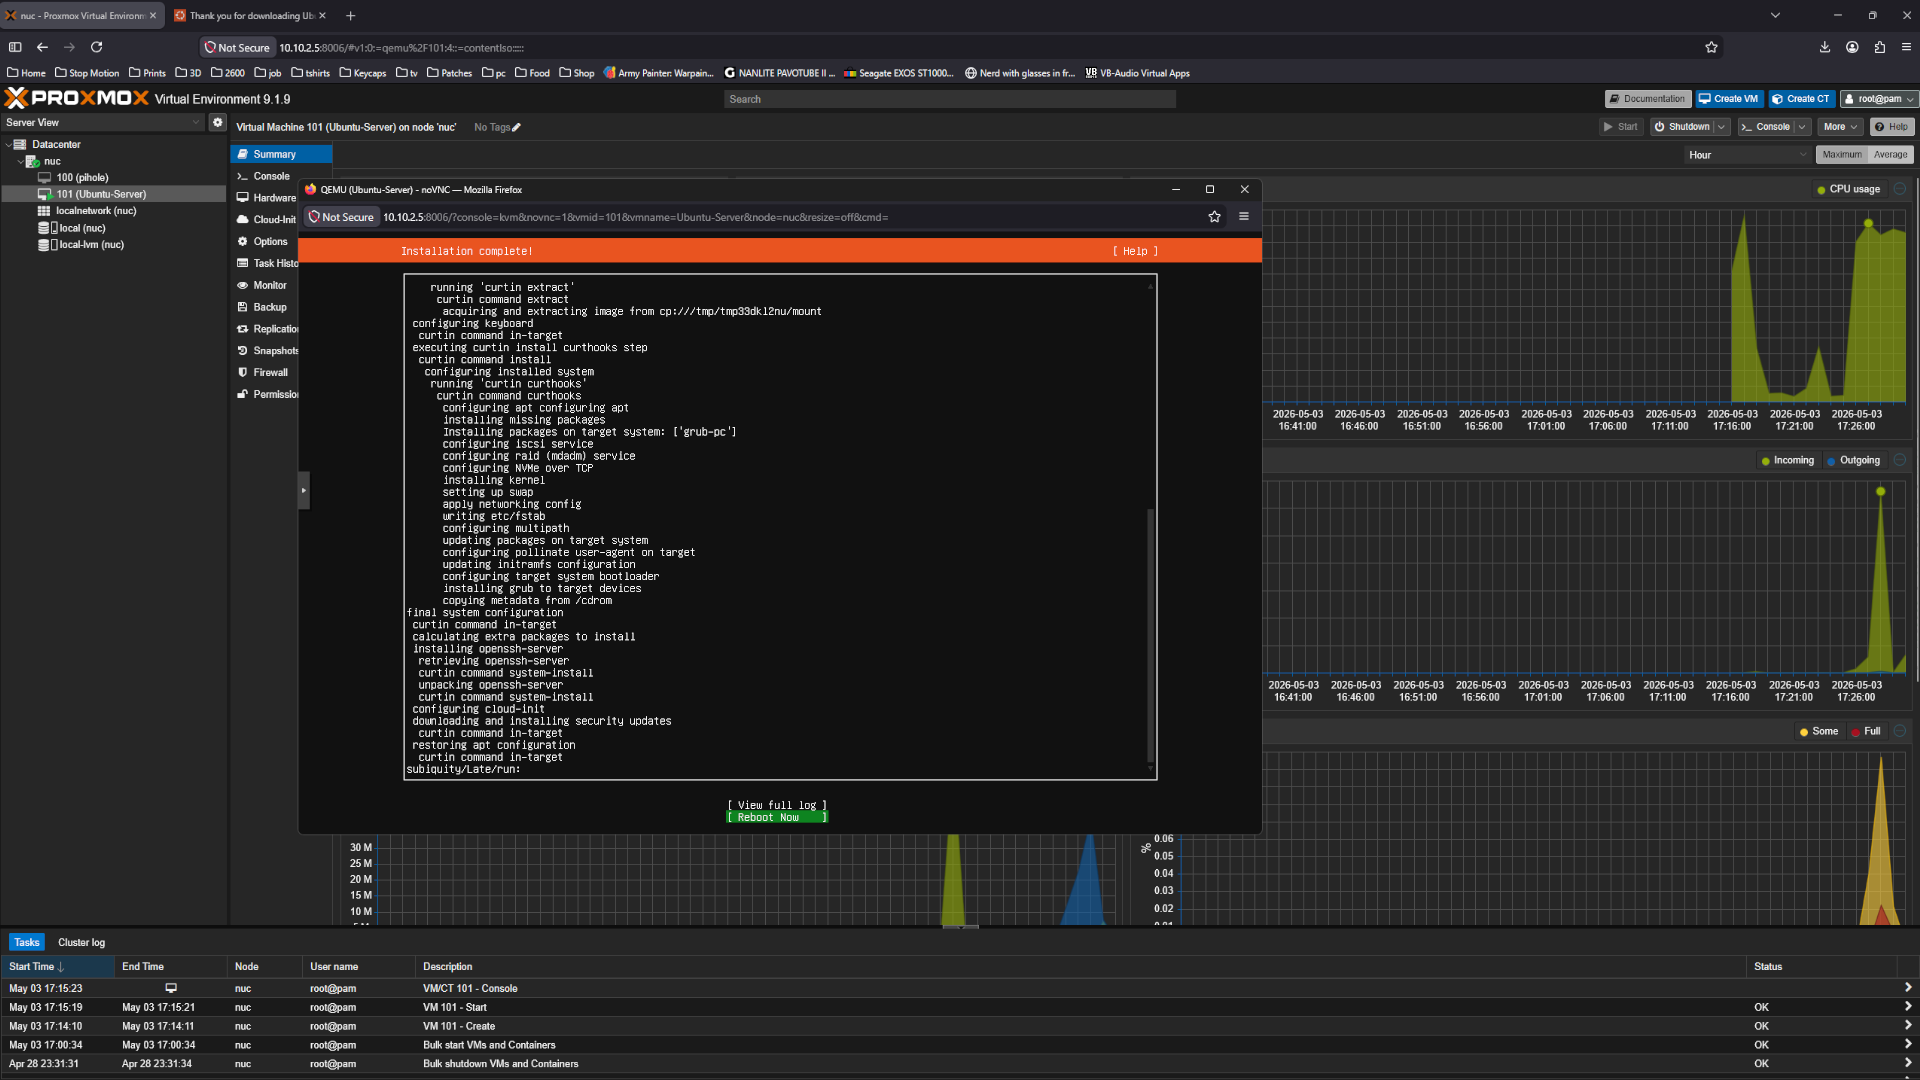 Network
Hit enter to unmount the cdrom
 Network
SSH to the server i use Putty as SSH client - Accept the cert.
Or use the console - just note you cant copy paste there
 Network
Login with user name and password
 Network
Update the system
1
sudo apt update && sudo apt upgrade -y
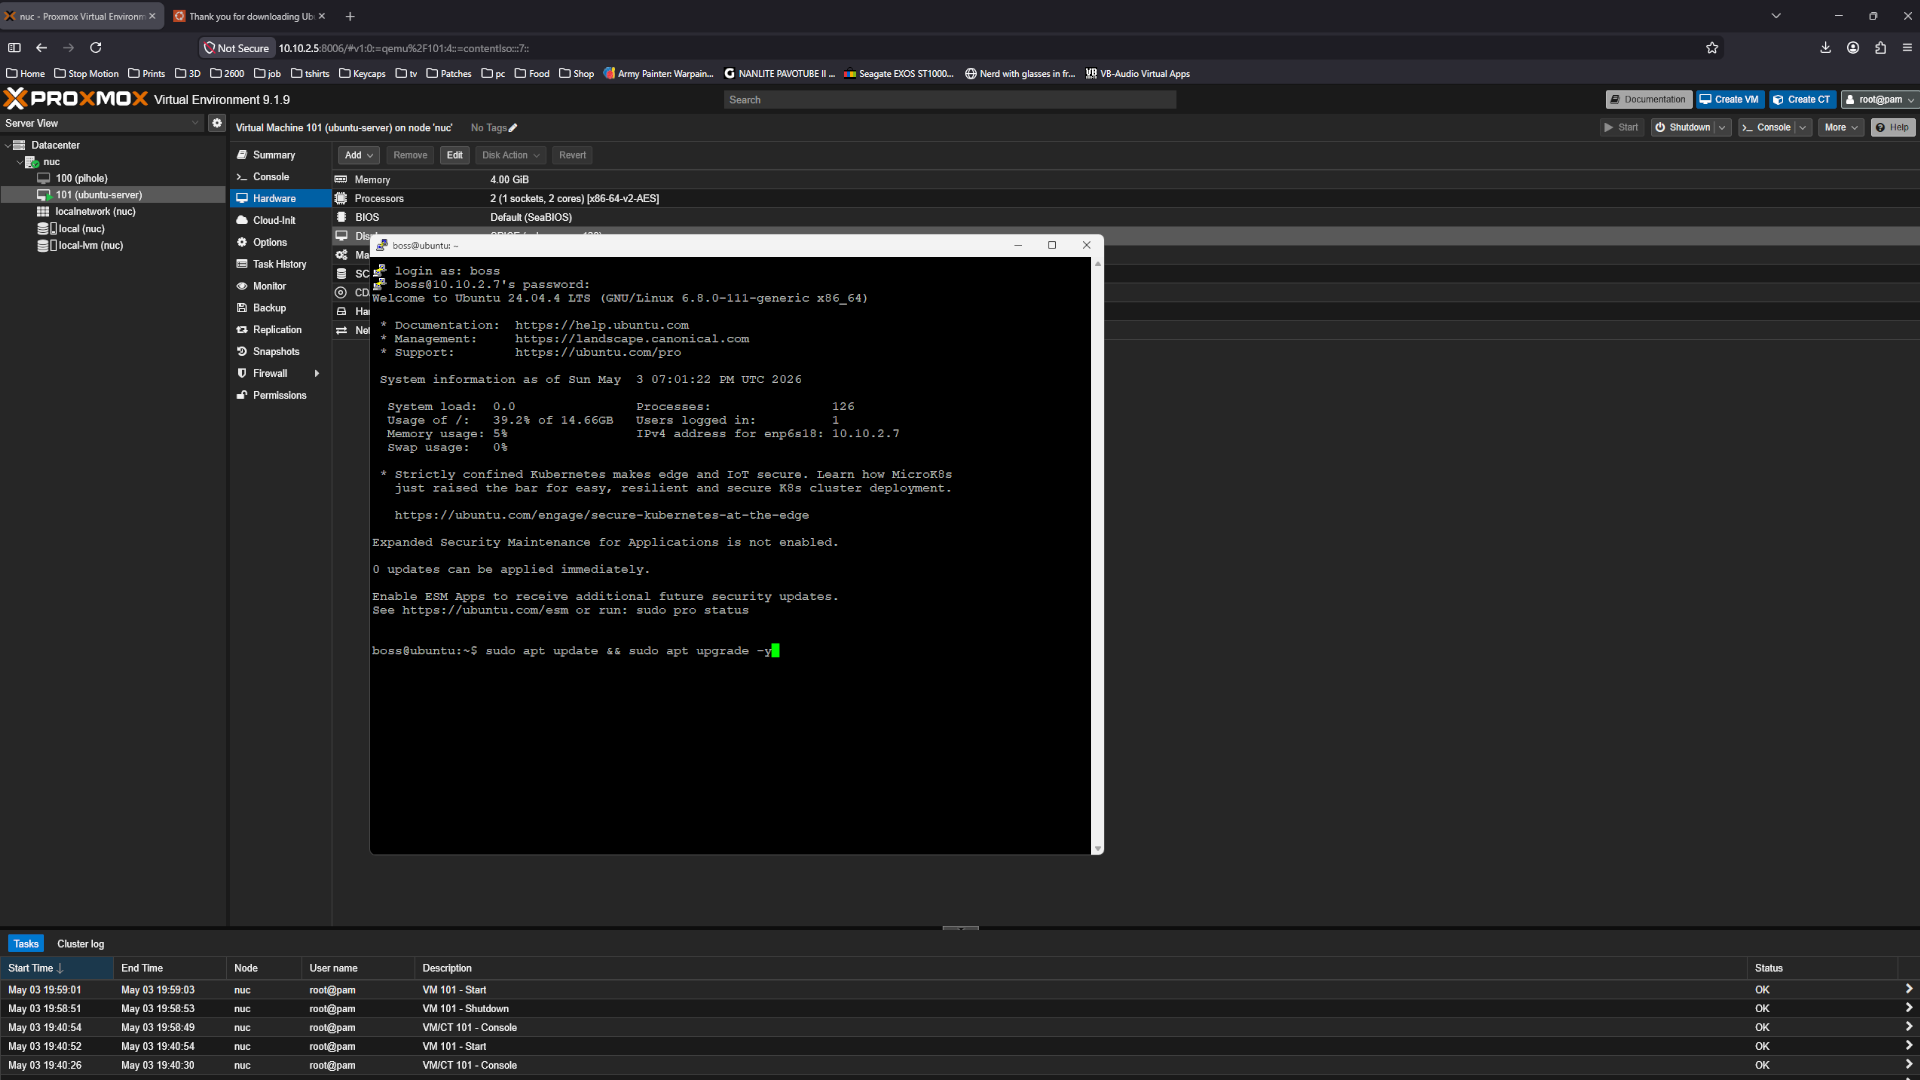 Network
Install the qemu-guest-agent with the command below.
1
sudo apt install qemu-guest-agent -y
 Network
A reboot is need for the updates and qemu guest agent to take effect.
1
sudo reboot
All done now we have a ubuntu server running.